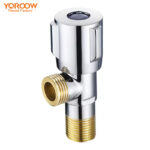
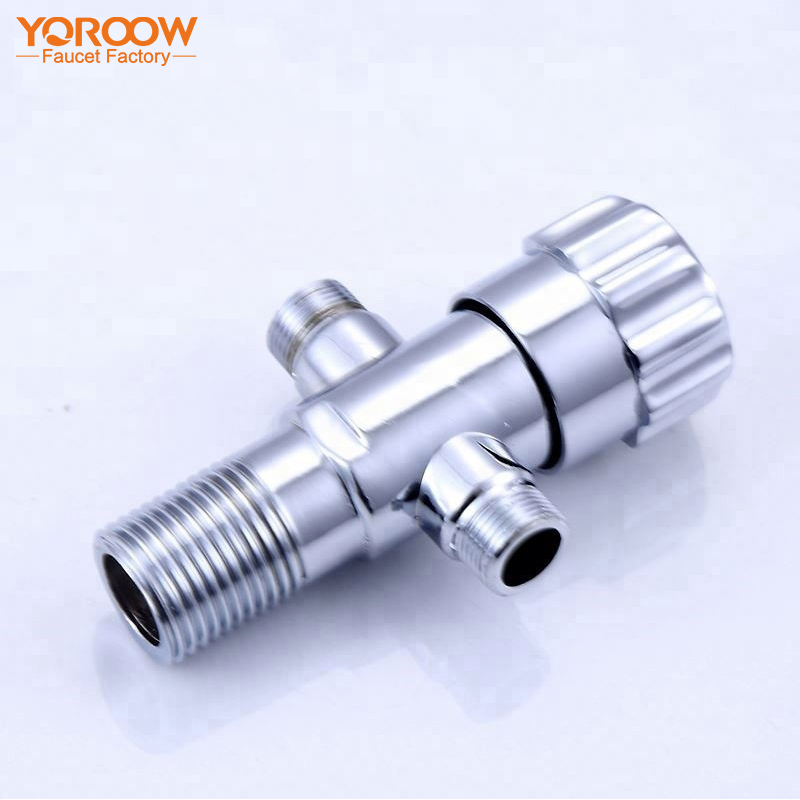
In modern homes and commercial facilities, effective management of water systems is crucial. The 3 Way Angle Stop Valve, as an efficient water flow control device, is widely used in scenarios requiring multiple device connections, such as simultaneously connecting a toilet and a washing machine. This article will detail how to correctly install a 3 Way Angle Stop Valve and explore its material and performance advantages.
1. Material and Performance of 3 Way Angle Stop Valve
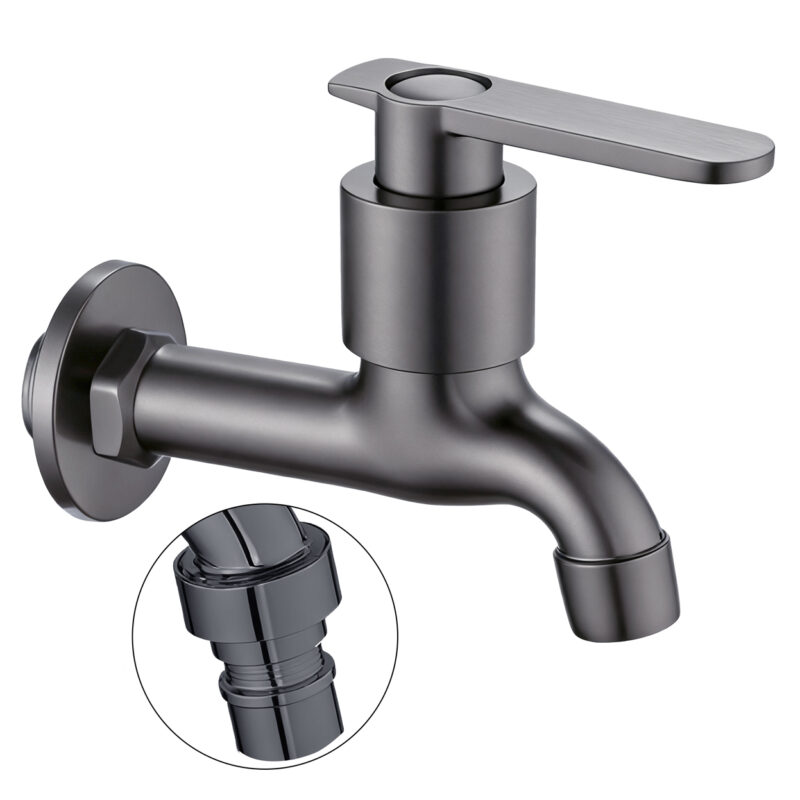
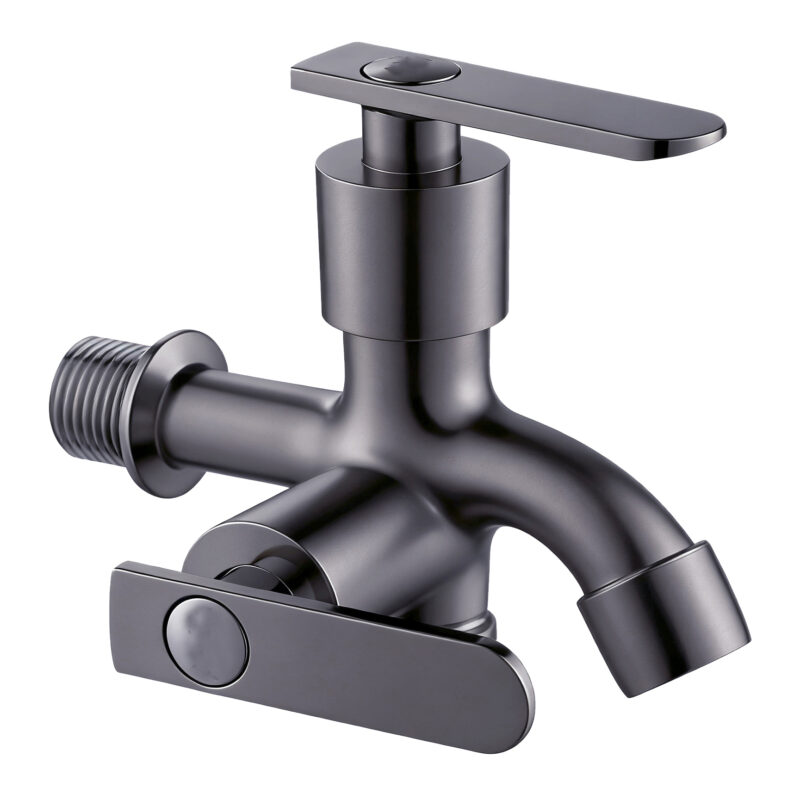
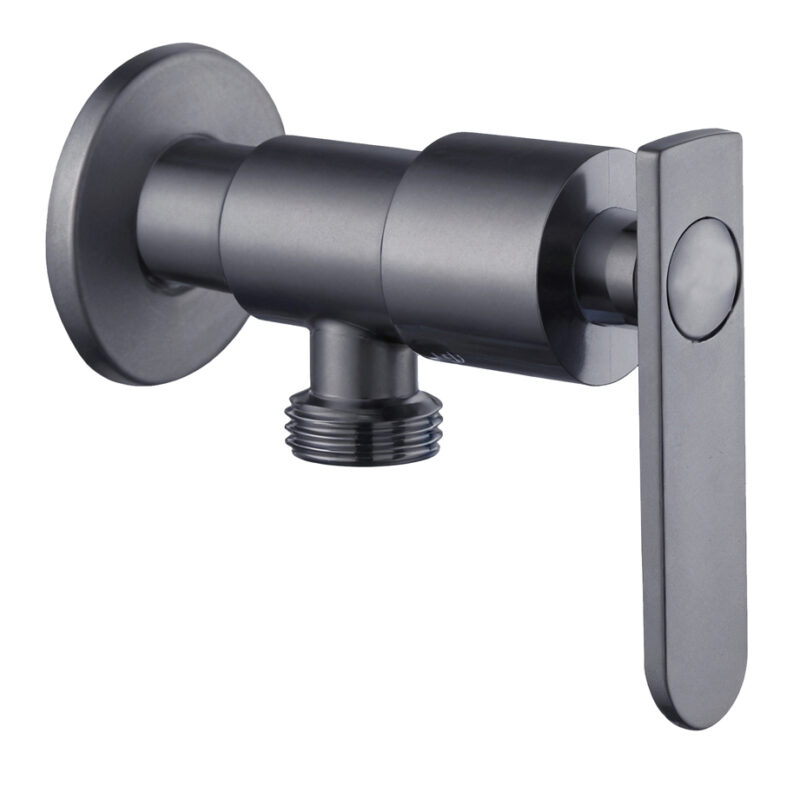
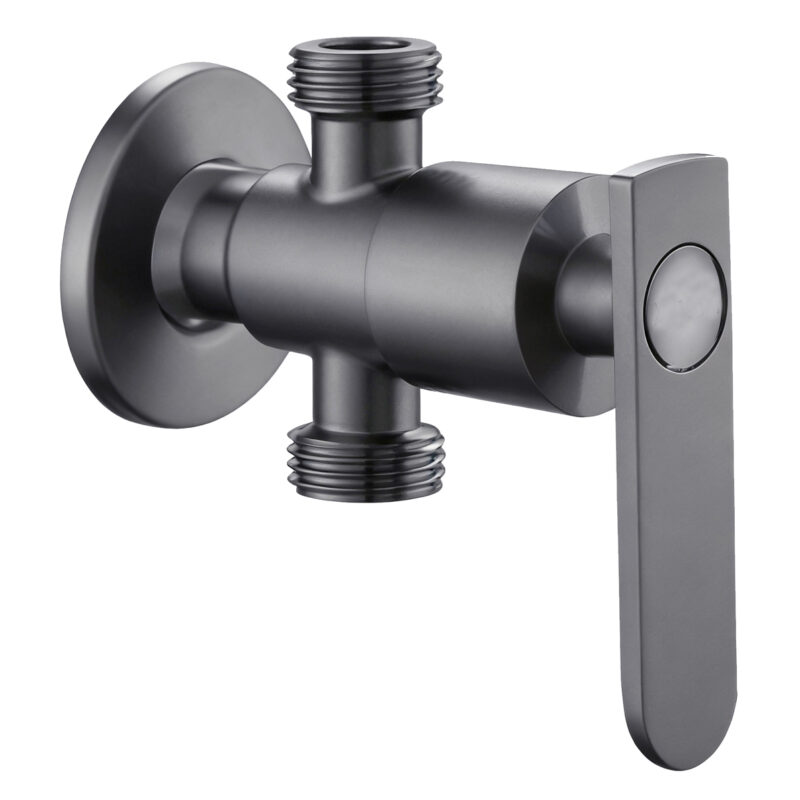
The main body materials of the 3 Way Angle Stop Valve produced byare primarily brass and stainless steel. These materials are not only sturdy and durable but also have excellent corrosion resistance. The surface is chrome-plated, which not only enhances the luster but also further improves corrosion resistance. The valve core is made of high-strength ceramic, ensuring good leak-proof performance during use. This design integrates water stopping and distributary into one, making it very suitable for complex water systems that require multiple device connections.
2. Preparation Before Installation
Before installing the 3 Way Angle Stop Valve, first, turn off the main water supply to ensure no water flows out during the installation process. Then, prepare the necessary tools, including wrenches, pipe wrenches, and Teflon tape. Check if all parts of the 3 Way Angle Stop Valve are intact, especially the valve core and sealing ring.
3. Installation Steps
- Turn off the main water supply: Ensure no water flows out during the installation process.
- Remove the old valve: Use a wrench or pipe wrench to remove the old angle valve, being careful not to damage the water pipe.
- Clean the pipe interface: Use a clean cloth to clean the pipe interface, ensuring no debris or old Teflon tape residue remains.
- Wrap Teflon tape: Wrap Teflon tape clockwise around the pipe interface, usually 10-15 turns, to ensure a seal.
- Install the 3 Way Angle Stop Valve: Align the 3 Way Angle Stop Valve with the pipe interface, hand-tighten, and then use a wrench or pipe wrench to further tighten, being careful not to over-tighten to avoid damaging the valve.
- Connect the devices: Connect the corresponding water pipes to the outlet of the 3 Way Angle Stop Valve as needed for the devices (such as a toilet and washing machine).
- Check for leaks: Turn on the main water supply and check all connections for leaks. If there are leaks, re-tighten or replace the Teflon tape.
4. Post-Installation Maintenance
After installation, regularly check the working status of the 3 Way Angle Stop Valve to ensure it operates normally. If leaks or operational inflexibility are found, replace the valve core or the entire valve promptly.

5. Conclusion
The 3 Way Angle Stop Valve, as an efficient water flow control device, is widely used in various scenarios requiring multiple device connections. Through correct installation and maintenance, its long-term stable operation can be ensured, providing reliable control and management for water systems.