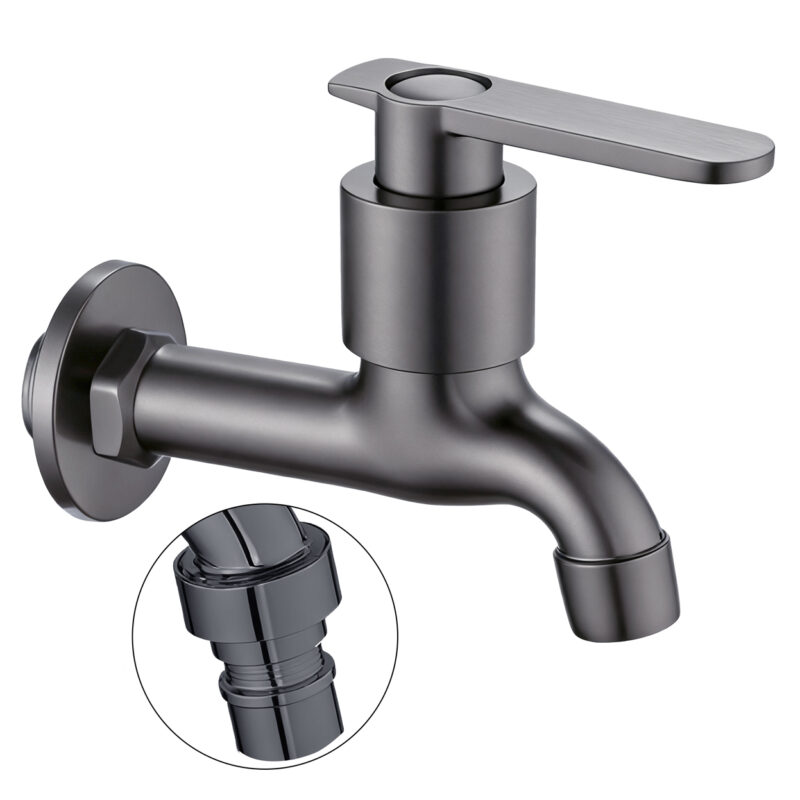
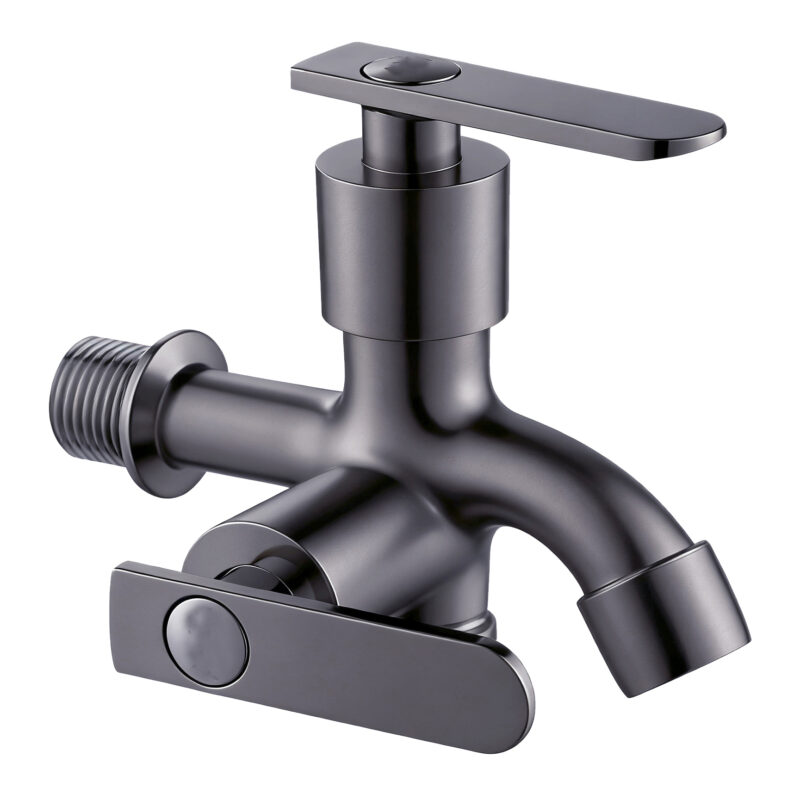
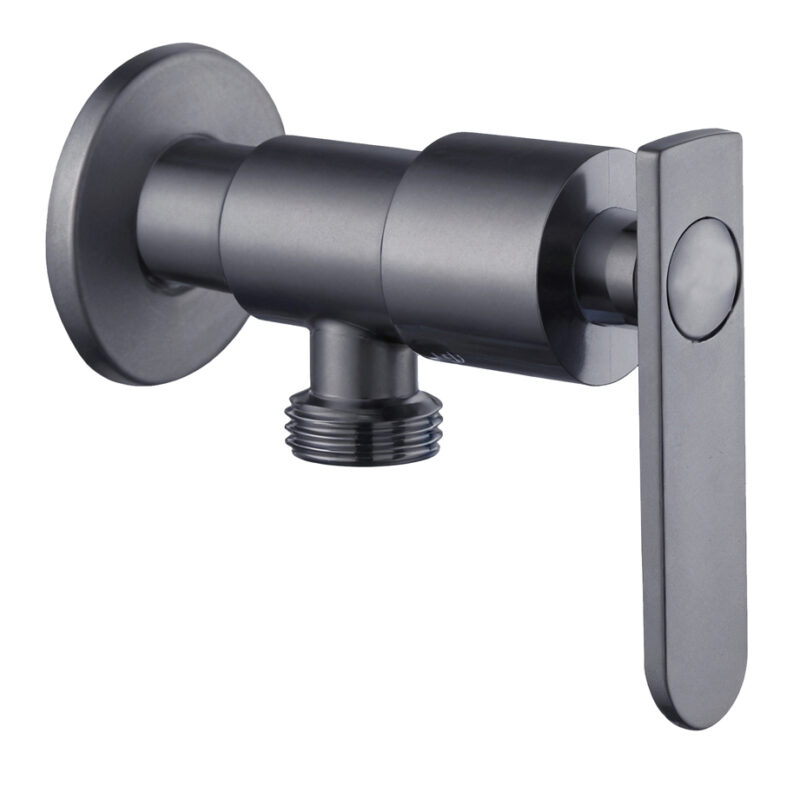
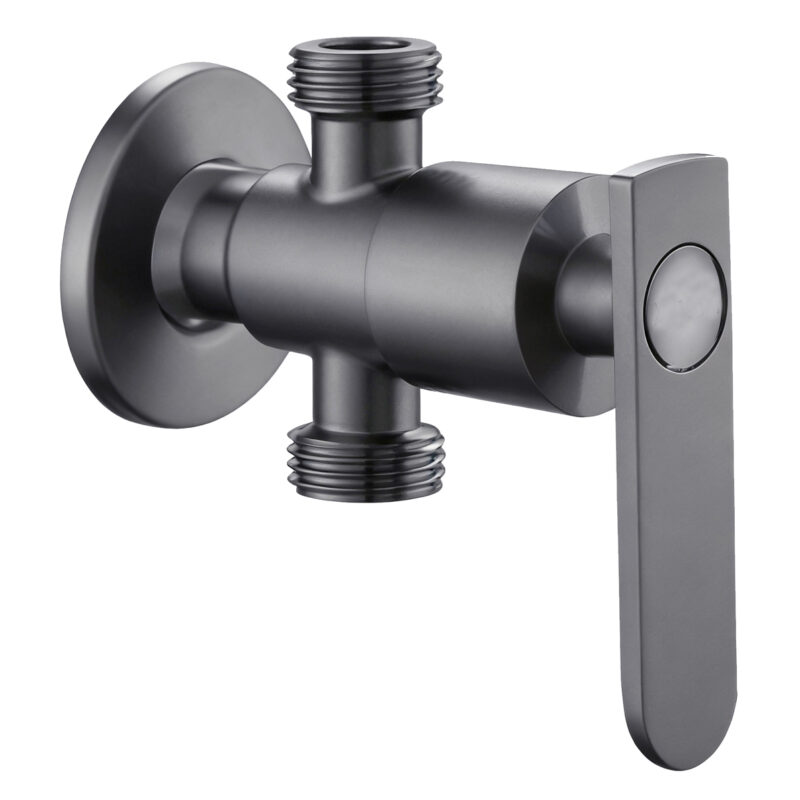
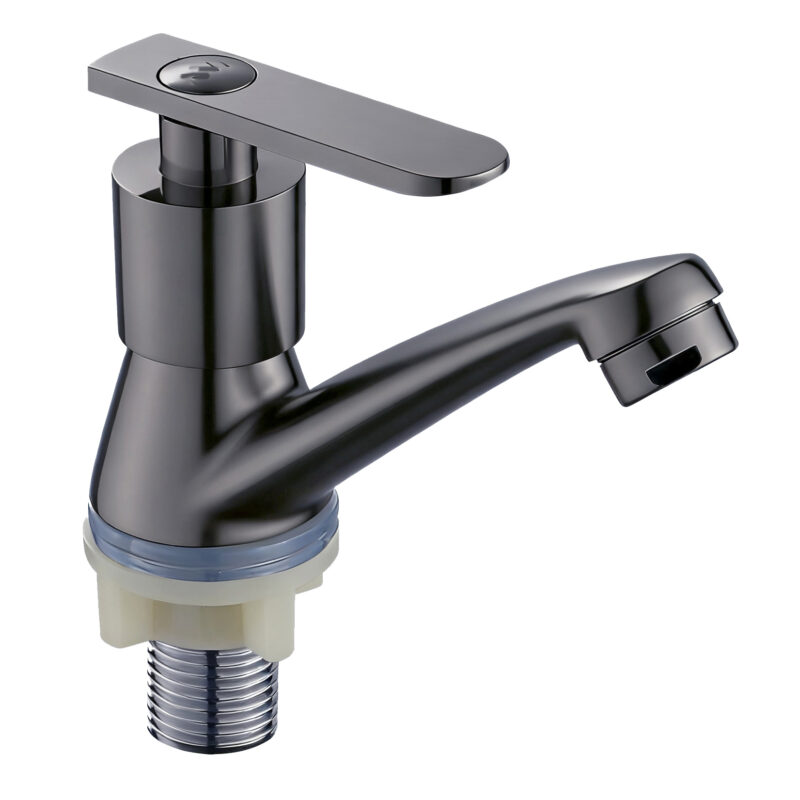
1. Pre-Installation Notes
Before installing the concealed shower valve sets, ensure the wall has enough depth (recommended ≥70mm), the hot/cold water directions are clearly marked, and the surface is flat. A maintenance opening should be reserved during the design phase for future access.
2. Required Tools
Typical tools include screwdriver, electric drill, adjustable wrench, level ruler, seal tape, tape measure, glue, and plastic wall plugs.
3. Preparation Steps
Verify that all parts are complete and undamaged. Mark the installation position based on the manual. Check the water inlet locations and clean the wall surface before drilling.
4. Standard Installation Process
-
Fix the concealed shower valve body inside the wall, ensuring it is level;
-
Connect hot and cold water inlets and tighten the nuts;
-
Link outlets to showerheads or faucets;
-
Apply sealing tape to all threaded joints to prevent leaks;
-
Seal the wall and leave a maintenance hatch as per the design;
-
Install the decorative panel and control handles to finish the setup.
5. Testing and Inspection
Turn on the water supply to test temperature control and flow. Check all joints for leaks and ensure the valve switches operate smoothly. Confirm stable water temperature and pressure.
6. Common Installation Issues and Solutions
-
Leaks: May result from loose threads or insufficient seal tape;
-
Unstable temperature: Possibly due to reversed hot/cold lines or pressure imbalance;
-
Low water flow: Caused by blocked valve cores, which should be cleaned and reinstalled.
7. Safety Tips and Maintenance
-
Turn off the main water supply during installation;
-
Avoid hammering the valve body directly;
-
Clean the filter regularly to ensure smooth flow after prolonged use.

Chinese faucet manufacturers offer professional concealed shower valve sets with strong OEM support, competitive pricing, and high product reliability, making them a preferred choice for bathroom renovation and engineering projects globally.

