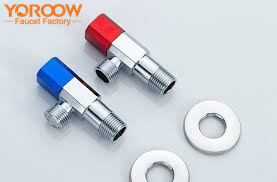
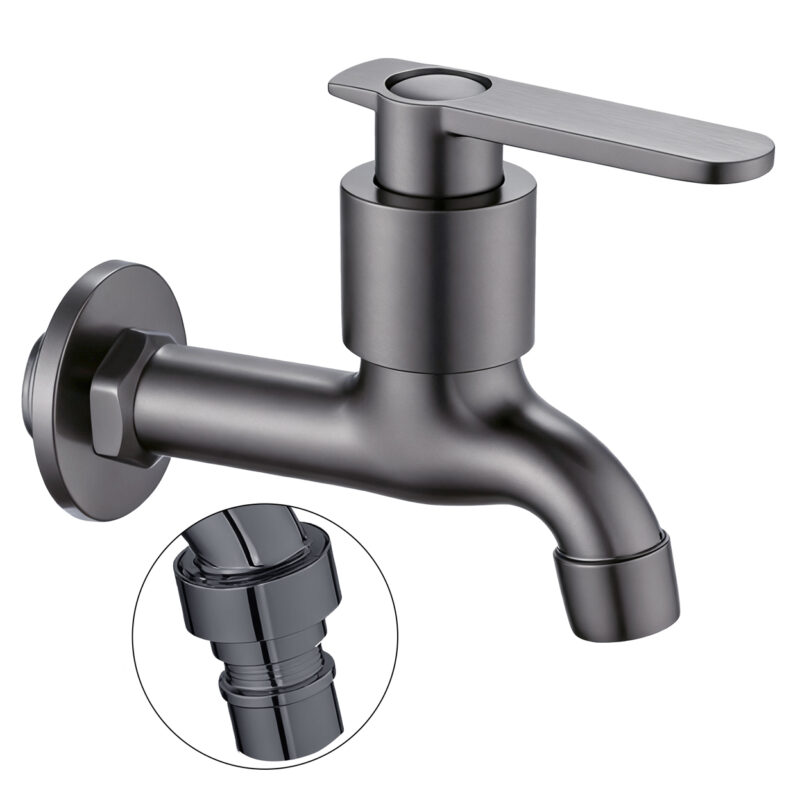
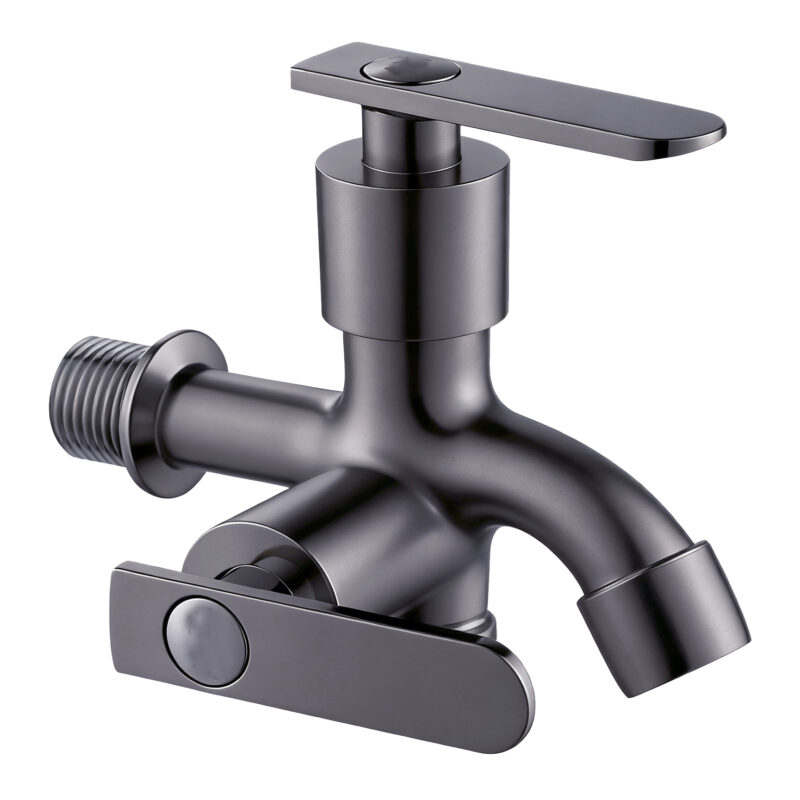
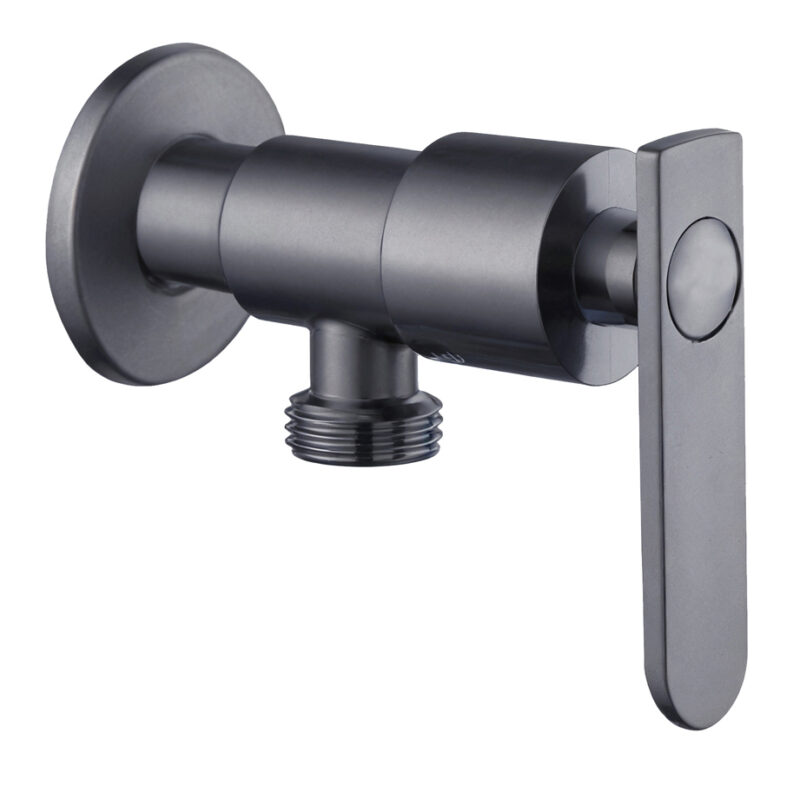
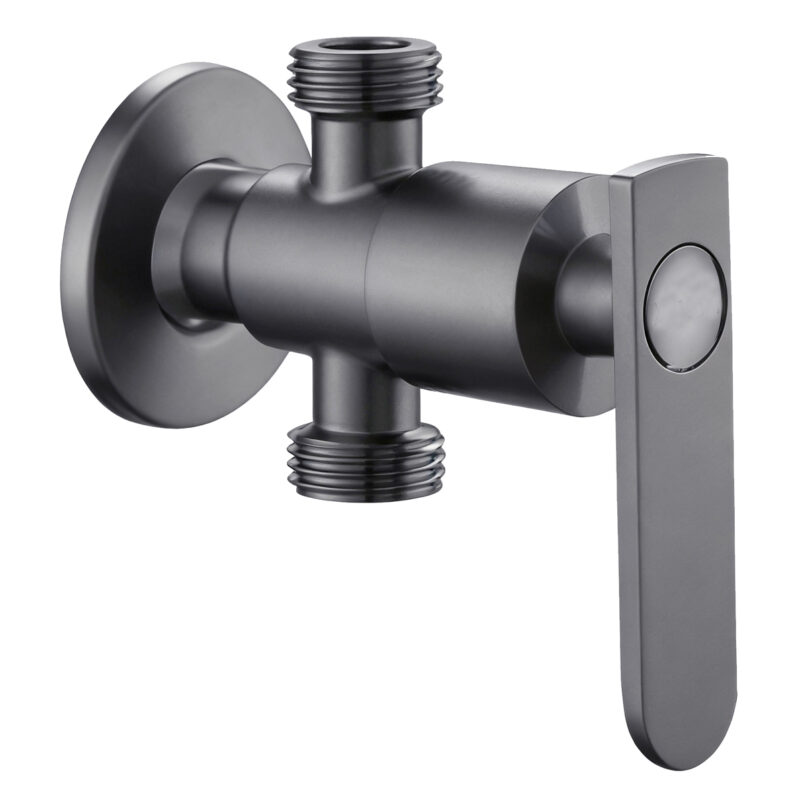
A hydraulic angled check valve is a crucial component used in various plumbing and industrial systems to control the flow of water or other fluids. Produced by China faucet factories, these valves are typically made from high-strength stainless steel or zinc alloy and feature a durable ceramic valve core that helps prevent water backflow. They also help maintain one-way flow and regulate water pressure in the system. Proper installation of a hydraulic angled check valve ensures efficient and reliable performance, and in this guide, we will walk you through the installation process.
What You Need for Installation
Before starting, gather the following tools and materials:
- Hydraulic angled check valve (suitable for your system’s specifications)
- Adjustable wrench
- Thread sealant or Teflon tape
- Cleaning cloth (for prepping the valve and connections)
- Pipe fittings (to match the size of the valve)
- Screwdriver (for securing any components)

Step-by-Step Installation Guide
Step 1: Turn Off the Water Supply
Before beginning installation, it is important to turn off the water supply to the pipe system. This will prevent any water from leaking while you work. If the valve is being installed on an existing system, ensure that all nearby water outlets are closed.
Step 2: Prepare the Installation Area
Inspect the area where the hydraulic angled check valve will be installed. Clean the pipe and valve connections thoroughly to ensure that no dirt or debris will interfere with the installation. Any foreign particles could cause leaks or malfunctioning of the valve over time.
Step 3: Apply Thread Sealant
Apply Teflon tape or thread sealant to the threaded ends of the pipe where the valve will be installed. This ensures a tight and leak-proof seal between the valve and the pipe. Wrap the tape around the threads in a clockwise direction to avoid the tape unraveling during installation.
Step 4: Install the Hydraulic Angled Check Valve
Carefully position the hydraulic angled check valve onto the pipe fitting. Ensure that the directional arrows on the valve point in the direction of water flow. This is critical for proper functioning, as the valve is designed to allow water to flow in one direction only. Tighten the valve onto the pipe using an adjustable wrench but avoid overtightening, as this could damage the threads or valve body.
Step 5: Secure the Valve Components
If the hydraulic angled check valve includes any additional parts, such as spring-loaded components, use a screwdriver or other tools to secure them in place according to the manufacturer’s instructions. These components ensure the valve operates correctly and maintains its one-way flow function.
Step 6: Test the Installation
Once the valve is securely installed, turn on the water supply slowly and check for any leaks around the valve or pipe connections. If you notice any leaks, tighten the connections or add more thread sealant as necessary. Make sure the water flows only in the intended direction, as indicated by the arrows on the valve.
Step 7: Regular Maintenance and Inspection
Regular maintenance is essential to ensure the hydraulic angled check valve continues to function properly. Check the seals and spring components periodically to ensure they are in good condition. Also, make sure to clean any dirt or debris that may accumulate inside the valve or pipe connections to maintain optimal performance.
Why Choose Hydraulic Angled Check Valves fromChina faucet factories?
China faucet factories offer high-quality hydraulic angled check valves made from materials like stainless steel and zinc alloy, which are known for their durability, corrosion resistance, and affordability. These valves are designed to meet global market standards and are widely used in both industrial and residential systems. The inclusion of ceramic valve cores in many models ensures a longer lifespan and better performance under high-pressure conditions.
By following this installation guide, you can ensure the smooth and efficient operation of your hydraulic angled check valve system, preventing backflow and maintaining one-way water flow in your plumbing system.