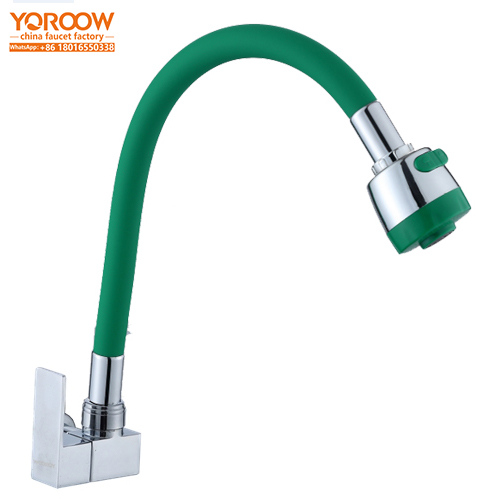
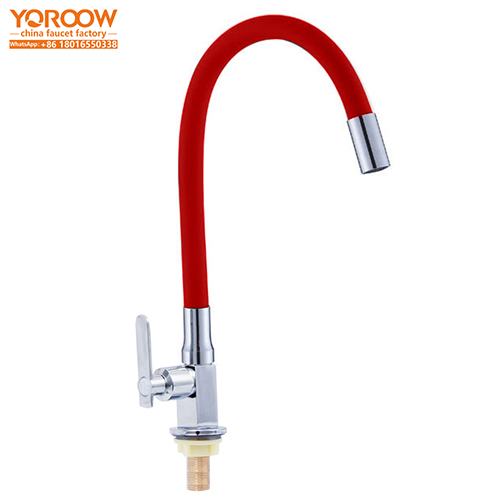
Crafted with ingenuity by Chinese faucet factories, the metal and also ABS tap kitchen faucet skillfully integrates the characteristics of metal and ABS plastic. It combines the durability of a metal structure with the lightness and anti – corrosion advantages of ABS plastic. With a sturdy appearance and hassle – free daily maintenance, it is suitable for various scenarios, including household and commercial kitchens. The following is a detailed installation guide to help you complete the installation smoothly.
(I) Precautions Before Product Installation
Before installation, carefully check the accessories in the product package to ensure that the faucet body, fixing nuts, gaskets, installation screws, and other components are complete. Meanwhile, be sure to close the main water supply valve in the kitchen to cut off the water source and prevent water leakage during the installation process. Additionally, measure the diameter of the sink installation hole. The standard specification is generally between 35 – 40mm. If the size does not match, it may affect the stable installation of the faucet, and appropriate adaptation measures should be taken in advance.
(II) Required Installation Tools
Preparing the right installation tools is the foundation for a smooth installation. You will need a wrench to tighten the fixing nuts, a screwdriver for installing screws, and a tape measure for precisely measuring the size of the installation hole and the spacing between components. In addition, prepare a clean cloth to clean up debris and water stains generated during the installation process at any time.
(III) Preparation Steps Before Installation
First, thoroughly clean the sink installation hole and its surrounding area, removing any remaining debris, dust, and oil stains to keep the installation surface clean and flat. Then, correctly place the gasket under the sink installation hole. It can effectively seal the gaps, prevent water leakage, and also serve as a shock absorber, extending the service life of the faucet. Subsequently, insert the faucet body smoothly into the installation hole from above the sink. Pay attention to adjusting the direction of the water outlet to ensure it aligns with your usage habits and the sink layout.
(IV) Standard Installation Process
When operating under the sink, put the fixing nut on the threaded part of the faucet and tighten it clockwise with a wrench. Apply even and moderate force. Avoid over – tightening, which may damage the faucet or the sink, and also do not tighten it too loosely to prevent the faucet from becoming loose. Next, connect the cold water pipe, ensuring that the pipe interface fits tightly with the corresponding port of the faucet. Use a wrench to secure the connection and check again whether the connection is firm to avoid loose connections that may cause water leakage.
(V) Key Points for Use Testing and Inspection
After the installation is completed, slowly open the water supply valve and carefully observe all connection parts of the faucet, including the fixing nut area and the pipe interface, to check for any signs of water seepage or dripping. Let it stand for a few minutes. If leakage is detected, promptly close the valve for re – tightening or check whether the gasket has shifted. At the same time, turn on the faucet switch to test whether the water flow is smooth and whether the switch adjustment is flexible to ensure the normal use of the faucet.
(VI) Common Installation Problems and Solutions
If you encounter difficulties in tightening the fixing nut, it may be due to misalignment of the installation hole or improper placement of the gasket. In such cases, readjust the position of the faucet, align it with the installation hole, and check whether the gasket is flat. If there is water leakage, in addition to checking the tightness of the connection, also inspect whether the gasket is worn out or damaged. If necessary, replace it with a new one to enhance the sealing effect.
(VII) Safety Tips and Maintenance Suggestions
During the installation and use process, avoid touching the surface of the faucet with sharp or hard tools to prevent scratching the coating, which may affect its appearance and anti – rust performance. For daily maintenance, regularly wipe the faucet with a soft, damp cloth to remove water stains and dirt. If it is not used for an extended period, close the water supply valve and open the faucet to drain the water in the pipes, preventing the pipes from freezing and cracking in winter and prolonging the service life of the faucet.