How to Repair a Leaking Faucet
Posted on October 21 2022
A leaky faucet is not only annoying, but it can also add to your water bill. Fortunately, as long as you know the type of faucet and have the necessary repair tools, repairing the faucet yourself is actually very simple. Why pay for a plumber if you can fix a leaking faucet yourself? Follow the instructions below to fix the four most common types of faucets.
Preparation
-
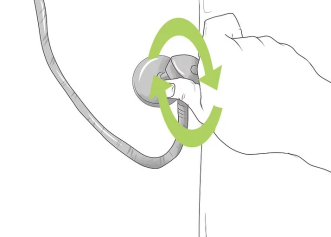
Turn off the faucet. Look at the water supply pipe under the sink. Go all the way down these pipes and you'll see a handle somewhere that shuts off the water supply to the sink. Turn it clockwise to close it.
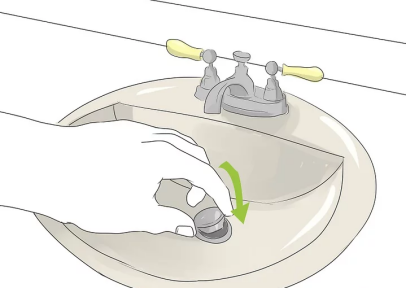
- Block the drain. If the sink has a plug, you can use the plug to plug the drain, if not, you can use a rag. Doing this will prevent the screw or washer from falling into the drain.
- Determine the type of faucet. The "compression valve faucet" has two rotating handles, one for hot water and one for cold water, and is the easiest type of faucet to identify with the naked eye. The other three faucets have a central rotary handle that swings from side to side to adjust hot and cold water. The internal mechanisms at the bottom of these faucet handles vary, and you may have to disassemble the faucet to find out which one:
a.The "ball valve faucet" has a ball.
b."Cartridge Valve Faucets" have a cartridge valve. Cartridge valves vary in material, but the handle usually has a decorative cover.
c.The "Ceramic Butterfly Valve Faucet" has a ceramic cylinder.
Repair the compression valve faucet
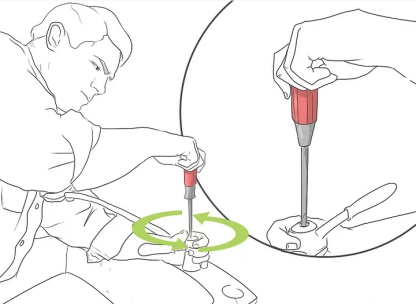
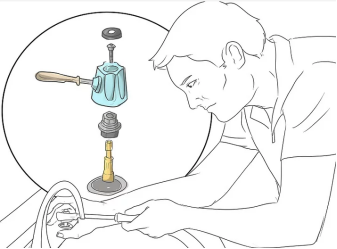
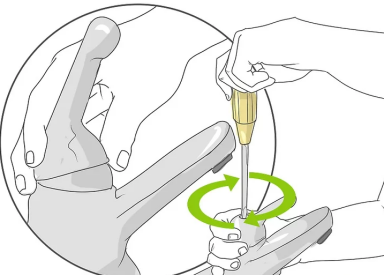
- Remove all handles. If necessary, pry off the trim cover (usually with the words "hot" or "cold"), unscrew the screw, and remove the handle.
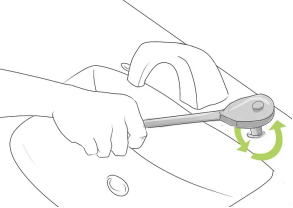
- Remove the nut with a wrench. Underneath, you'll see a valve stem with the O-ring under the stem and the seat gasket under it. Base gaskets are usually made of rubber and will wear out over time. If the faucet is dripping, it is most likely due to wear and tear.
- Take out the valve stem. Then you will see the O-ring, which is generally thinner. The base gasket is thicker.If it's the handle and not the faucet that leaks, you'll need to replace the o-ring. Take the original O-ring to the hardware store for comparison and find the same O-ring to replace.
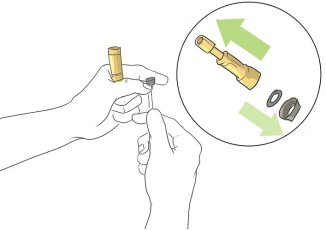
- Remove the base gasket. The base washer is held in place with a brass screw facing down.
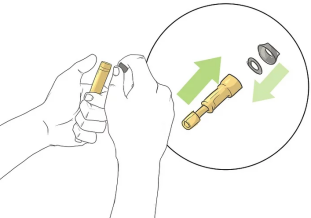
- Replace the base gasket. Since these washers vary in size, you may need to take the old washers to the hardware store in order to get the exact same washers. Before installation, coat the gasket with a layer of special grease for water pipes.
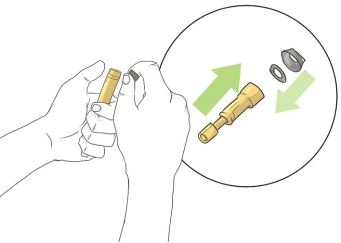
- Reinstall all handles. This should have fixed the slight leak.
Repair the ball valve faucet
- Purchase a ball valve faucet replacement kit. Ball valve faucets have several parts that need to be replaced, some requiring special tools. You don't need to replace the entire faucet, just the faucet's cam assembly. Buy the kit outright and it should have everything you need, including tools. Generally, you can buy it in most hardware stores, and the price is about $10-$20.
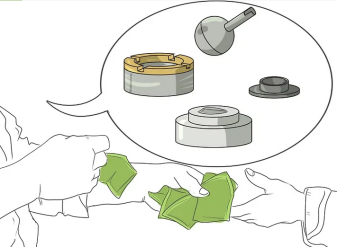
- Start removing the screws and handles. Lift the handle and put it aside.
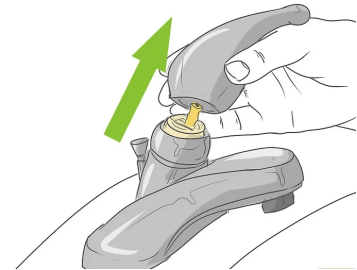
- Use a vise to remove the cap and gasket. Loosen the faucet cam with the tool provided in the replacement kit to remove the part. Remove the faucet cam, gasket and ball valve. This looks like the "ball and socket" joint in our bodies - a removable (usually white) rubber ball and a groove to close and release water.
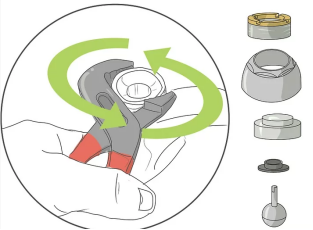
- Remove the water inlet seal and spring. Disassembly requires access to the inside of the mechanism and may require needle nose pliers.
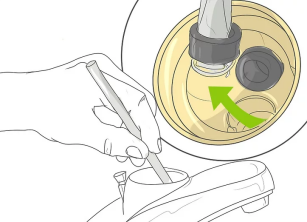
- Replace the O-ring. Cut off the old o-ring and apply a coat of plumbing grease to it before installing the new o-ring.
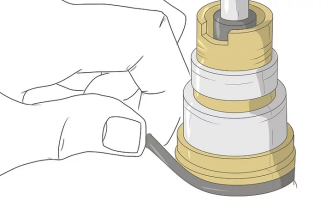
- Install new springs, valve seats and cam washers. These parts should all be included in the kit you purchased and should be installed in the reverse order of what you just did.
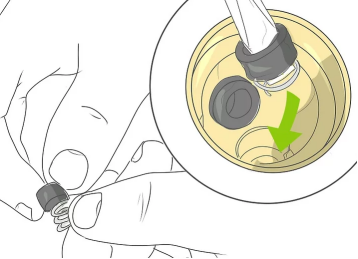
- Reinstall the handle. This leak should be fixed.
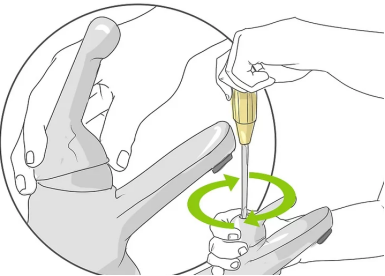
Repair the cartridge valve faucet
- Remove the handle. Pry open the trim cover if necessary, unscrew the screw, and tilt back to remove the handle.
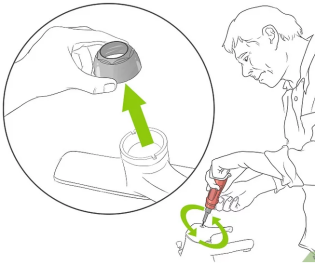
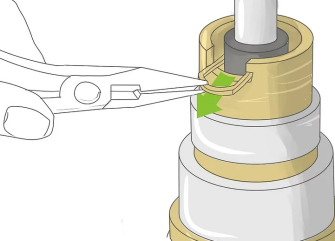
- Remove the positioning clip if necessary. A retaining clip is a round, threaded part, usually plastic, that is sometimes used to hold a cartridge in place and can be pulled out with needle-nose pliers.
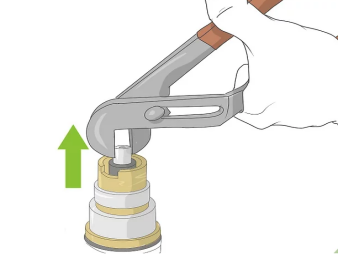
- Pull out the cartridge valve and let it extend completely. This is where the cartridge valve is when the water is at maximum.
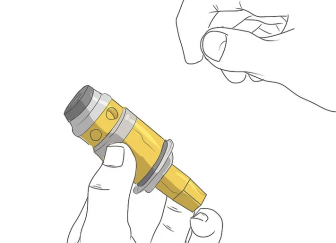
- Remove the faucet outlet. Set aside and find the O-ring.
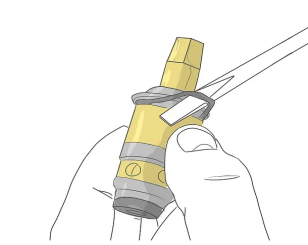
- Replace the O-ring. Cut off the old O-ring with a utility knife. Before installing a new O-ring, apply a coat of plumbing grease to it.
6. Reinstall the handle. The leak should now be fixed.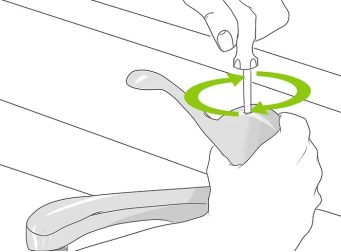
Repair ceramic butterfly valve faucet
- Remove the keyhole cover. After loosening the screws and removing the handle, locate the escutcheon. It's directly under the handle and is usually made of metal.
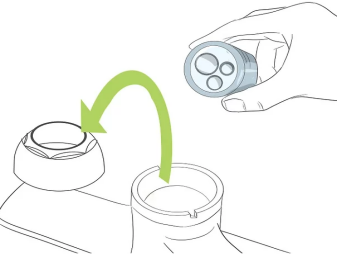
- Loosen the screws and remove the butterfly valve cylinder. When removed, you will see several neoprene seals underneath.
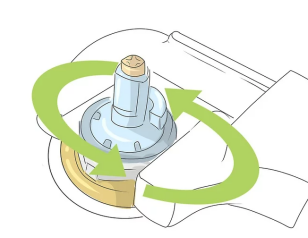
- Take out the sealing ring and clean the cylinder. White vinegar is a great cleaning solvent, especially if your home uses hard water. Soak the seal and cylinder for a few hours to remove deposits and see if they last.
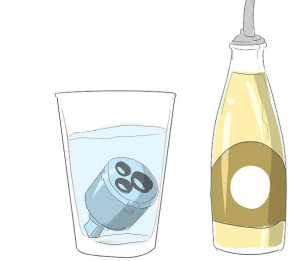
- Replace the sealing ring if necessary. If the seal appears to be pitted, frayed, thin, or otherwise worn, or just to be on the safe side, you can take the seal to a hardware store to find an identical replacement.
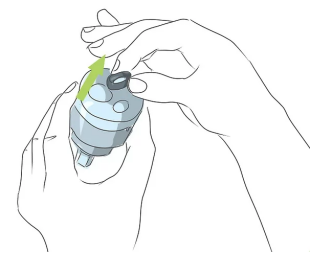
- Reinstall the handle and "slowly" turn on the faucet. Too much water pressure may damage the ceramic discs.
Tips:
The faucets in your home may look different from the types described above. For example, the handle of a ball valve faucet may be placed on the side, which makes it more aesthetically pleasing. However, the internal organization is the same.
If you find large deposits of limescale on the stem of the faucet handle, you can clean it with a limescale product. This deposit can also cause leaking faucets.
(Article source: https://zh.wikihow.com/)