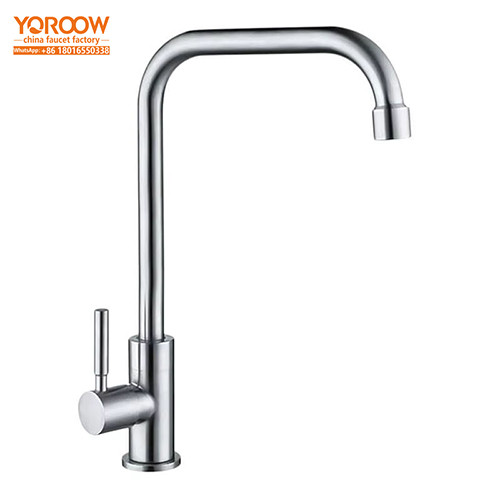
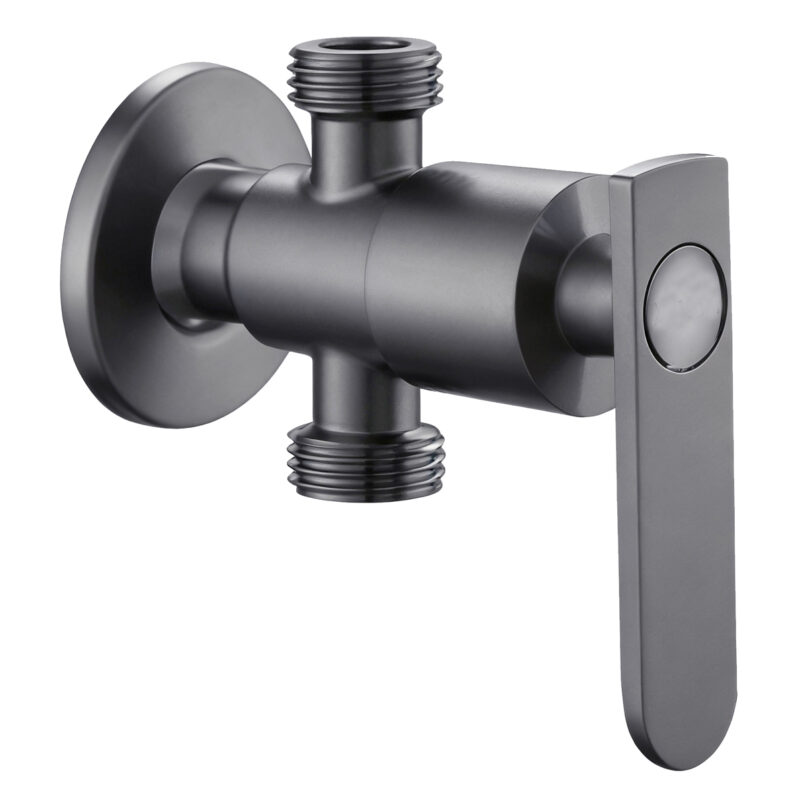
Antique copper kitchen taps, renowned for their distinctive metallic luster and timeless vintage charm, have become a prime choice for creating classic kitchen aesthetics. Leveraging mature industrial chains and innovative techniques, Chinesische Wasserhahnhersteller produce single – cold basin taps that excel in corrosion resistance and durability. Their specialized surface treatments effectively combat oxidation, ensuring long – term aesthetic appeal. Proper installation is crucial for maximizing product performance, and the following guide offers a detailed, professional walkthrough from pre – installation preparations to post – installation maintenance.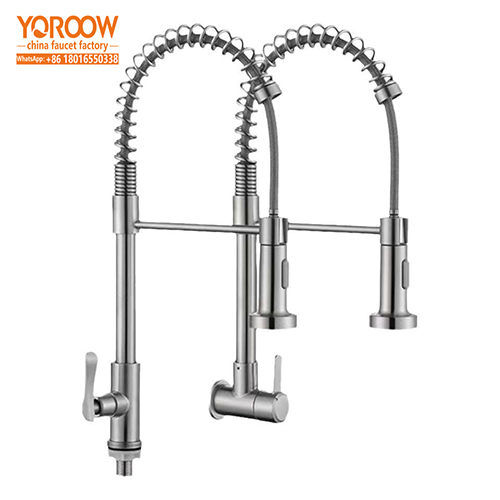
I. Essential Pre – installation Preparations
(A) Product Compatibility Verification
Before installing an antique copper kitchen tap, accurately measure the sink and countertop dimensions. The standard sink hole diameter ranges from 35 to 40mm, and the countertop thickness should not exceed 50mm to ensure a seamless fit. Some Chinese factories offer customization services, providing tailored installation solutions for special – sized countertops or sinks. Additionally, carefully review the product’s instruction manual and accessory list to familiarize yourself with the structure and key installation points, minimizing the risk of installation errors.
(B) Tools and Materials Preparation
Proper tools are essential for a successful installation. Gather the following equipment and materials:
1.Basic Tools: An adjustable wrench facilitates the removal of old faucets and tightening of new nuts; a screwdriver assists in securing components; a tape measure ensures precise sizing.
2.Sealing Materials: Teflon tape, a flexible and highly effective sealant, prevents joint leakage by creating a tight barrier.
3.Safety Gear: Rubber gloves protect hands from potential cuts during handling. Keep old towels on hand to absorb any residual water.
2.Sealing Materials: Teflon tape, a flexible and highly effective sealant, prevents joint leakage by creating a tight barrier.
3.Safety Gear: Rubber gloves protect hands from potential cuts during handling. Keep old towels on hand to absorb any residual water.
II. Step – by – Step Installation Process
(A) Old Faucet Removal and Surface Cleaning
Shut off the cold water supply valve beneath the sink. Use an adjustable wrench to loosen the nuts connecting the water inlet hoses to the old faucet. After detaching the hoses, remove the faucet’s mounting nuts and lift out the old unit. Clean the countertop thoroughly, removing any residual sealant or debris with a putty knife to create a smooth, clean surface for the new installation.
(B) New Faucet Installation
1.Base Securing: Attach the provided sealing ring to the faucet base to prevent water seepage. Insert the faucet vertically into the sink hole, ensuring it is centered.
2.Component Tightening: From underneath the countertop, slide on the washer and mounting nut, then tighten the nut clockwise with an adjustable wrench. Apply even pressure to avoid tilting. High – end models may feature dual – nut designs for enhanced stability.
3.Waterline Connection: Align the cold water hose with the faucet’s inlet and secure it with a wrench. For improved sealing, wrap 5 – 8 layers of Teflon tape clockwise around the threads, following the direction of nut tightening.
III. Post – installation Testing and Inspection
After installation, slowly open the water supply valve and inspect all connections for leaks, paying close attention to hose joints and the faucet – countertop interface. If leakage occurs, retighten the nuts or adjust the Teflon tape. Turn on the faucet to check water flow smoothness and listen for abnormal noises, which may indicate improper internal assembly. Operate the faucet handle multiple times to ensure smooth operation without sticking.
IV. Common Issues and Solutions
(A) Leakage
If water seeps from joints, it may result from insufficient Teflon tape or loose nuts. Turn off the water, re – wrap the tape, and retighten the nuts. For base leaks, check the sealing ring for misalignment or damage and replace if necessary.
(B) Abnormal Water Flow
Weak water flow may stem from a clogged hose or partially closed valve. Verify the valve position; if fully open, remove and flush the hose to clear blockages.
(C) Sticky Operation
Difficulty turning the handle may indicate improper cartridge installation or lack of lubrication. Disassemble the handle, check the cartridge alignment, and apply food – grade lubricant to improve smoothness.
V. Safety and Maintenance Tips
Ensure the water supply remains off throughout installation to prevent accidental water surges. During regular use, periodically check all connections for looseness and tighten as needed. Clean the faucet surface every 3 – 6 months with a soft, damp cloth to remove stains and grease. Avoid abrasive tools or acidic cleaners that can damage the antique copper finish. Thanks to advanced Chinese manufacturing techniques like PVD vacuum coating and hand – brushing, proper maintenance will preserve the tap’s beauty and functionality for years to come.