I Pre – installation Notes
II Vereist installatiegereedschap
III Pre – installation Steps
 1.Turn off the water supply: Be sure to close the main water valve at home or the water supply valve in the bathroom area and empty the remaining water in the pipeline to prevent leakage during installation.
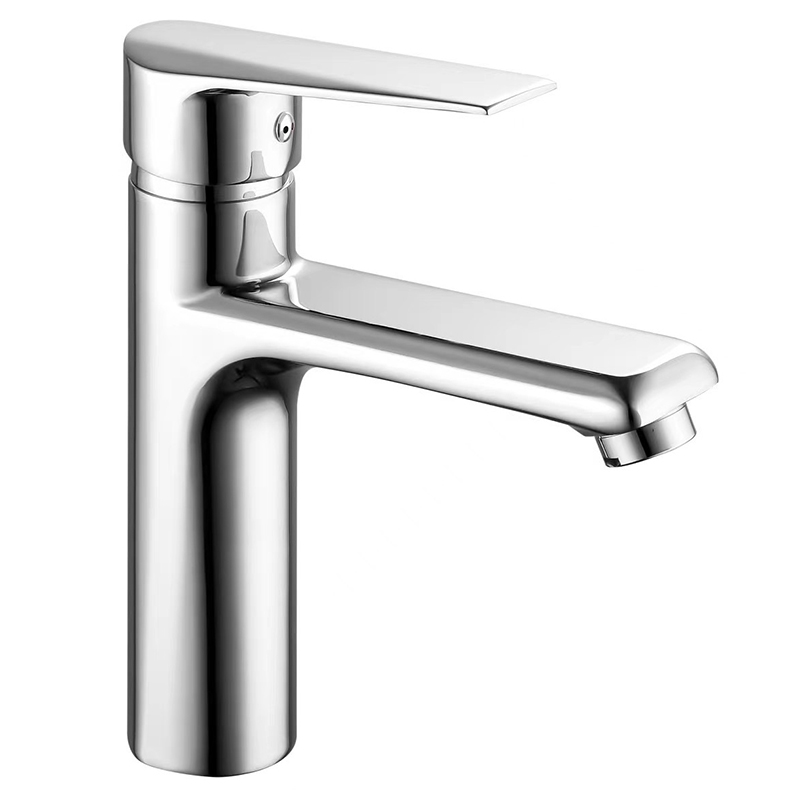
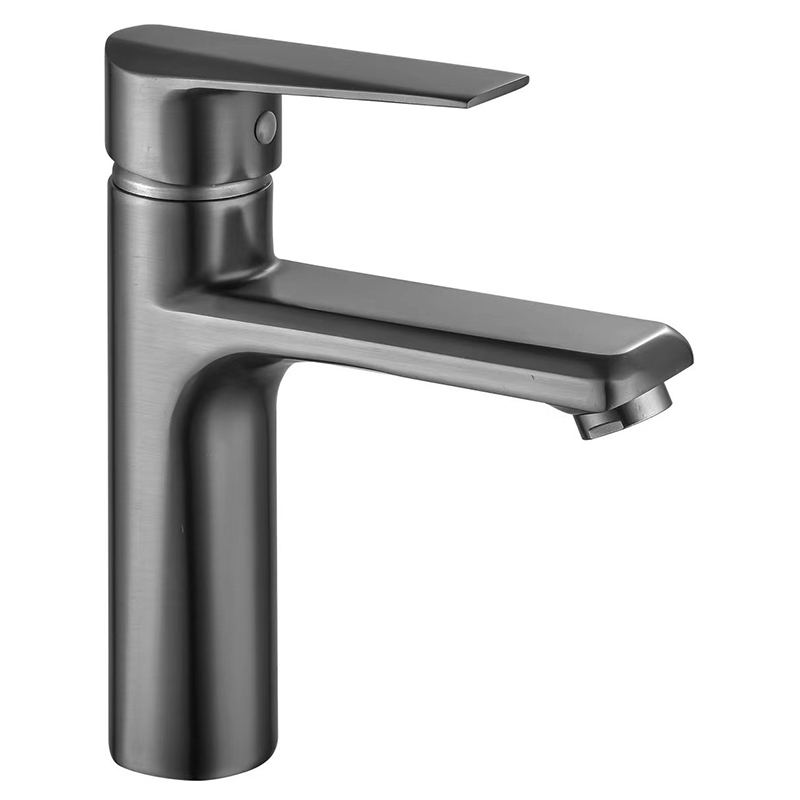
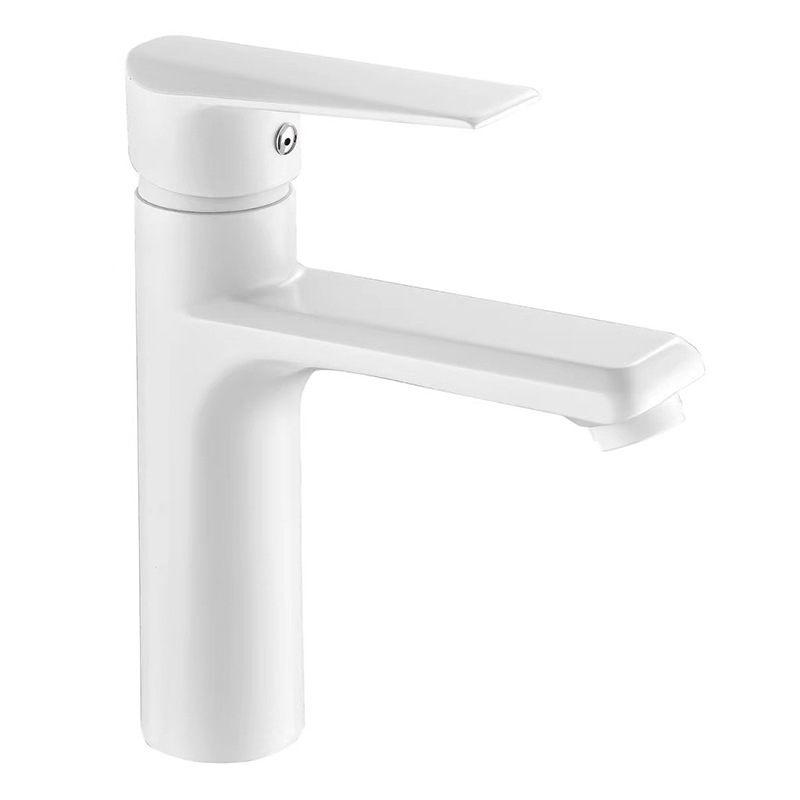
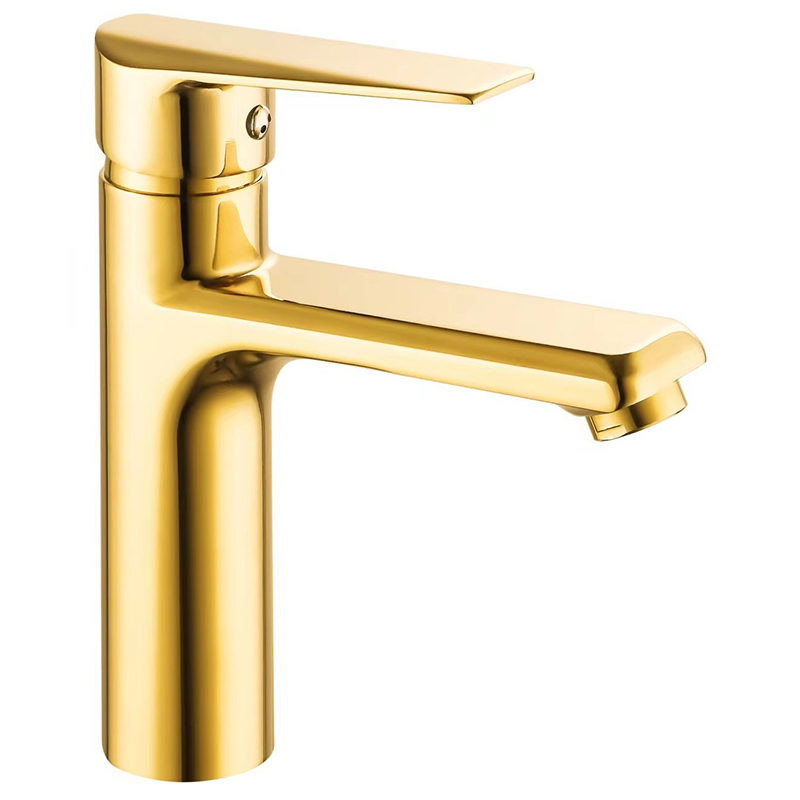
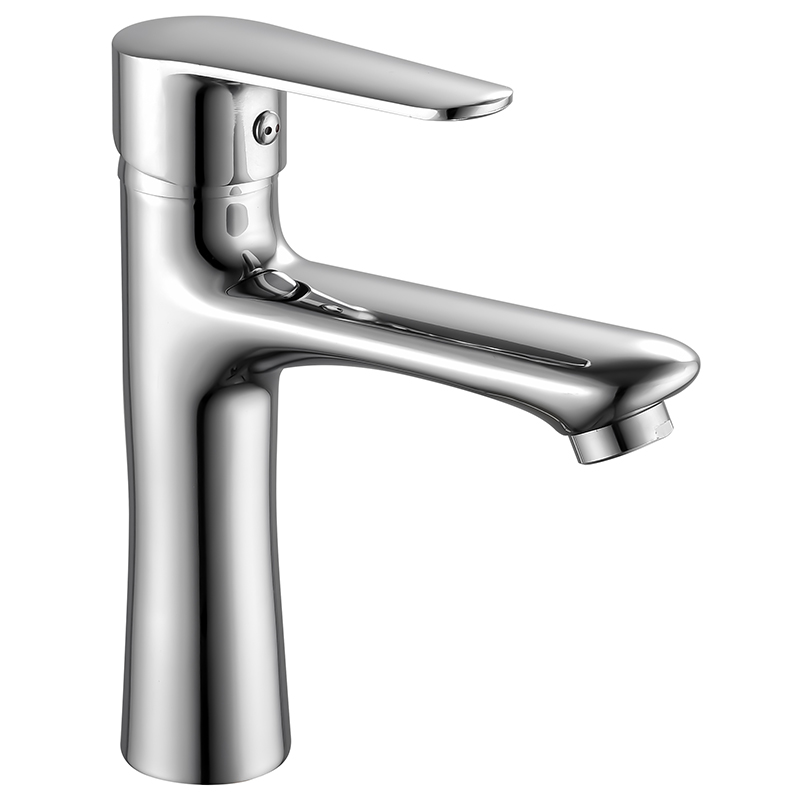
2.Check component compatibility: Verify the interface specifications of the shower faucet and top spray showerhead (commonly G1/2 or NPT threads) to ensure they match the pre – embedded pipeline interfaces. Products manufactured by Chinese factories are made of high – quality brass or 304 stainless steel, with surface treatments including chrome plating, matte black, brushed gold, etc. During installation, pay attention to protecting the surface coating to avoid scratches from tools.
3.Mark installation positions: Use a spirit level and tape measure to mark the installation heights of the faucet handle and top spray showerhead on the wall. Generally, the center height of the faucet handle is recommended to be set at 900 – 1100mm, and the center height of the top spray showerhead at 2000 – 2200mm, which conforms to ergonomic design.
IV Standaard installatieproces
 1.Fix pre – embedded pipelines: For new walls, fix the cold and hot water pipelines at the marked spacing before plastering, and wrap the outer side of the pipelines with thermal insulation or anti – corrosion layers. For renovation projects, ensure that the in – wall pipeline interfaces are flat, free of rust or blockages.
2.Install the faucet embedment box: Embed the concealed faucet’s embedment box into the wall, adjust it to a horizontal state using a spirit level, and then fix it with expansion screws. The embedding depth of the embedment box should ensure that the faucet body is flush with the wall, highlighting the simplicity and beauty of the hidden design.
3.Connect cold and hot water pipelines: Wrap 5 – 6 turns of Teflon tape clockwise around the faucet interface, and then tighten the faucet body with the pre – embedded pipeline to ensure a tight connection and no leakage. Although products from Chinese factories have undergone pressure testing before leaving the factory, the tightness of the connection parts still needs to be manually checked during on – site installation.
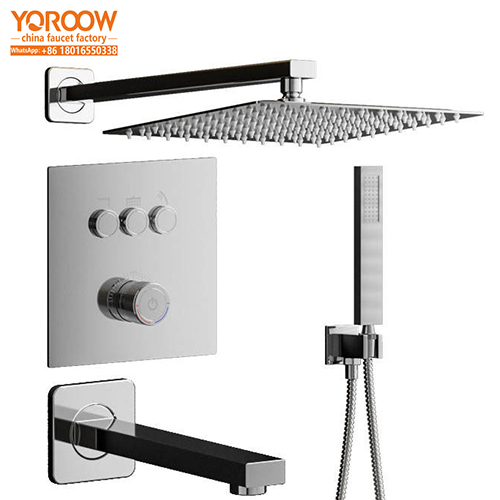
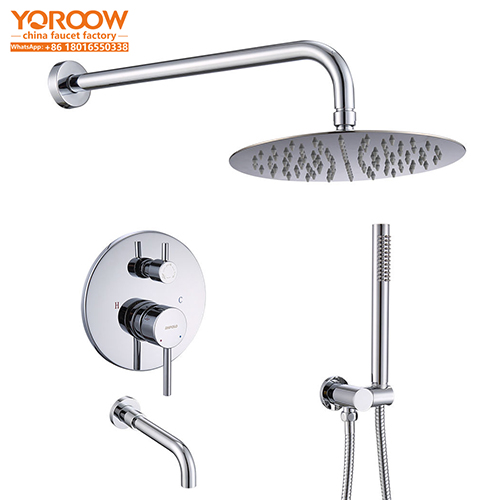
4.Fix the top spray shower bracket: Drill holes on the wall according to the marked height, install expansion screws to fix the bracket, and ensure the bracket is perpendicular to the wall. Connect the top spray showerhead to the bracket, adjust the angle to horizontal, and then tighten the fixing screws. Some models are equipped with rotatable joints, allowing adjustment of the water outlet direction as needed.
V Usage Testing and Inspection Points
- Water flow test: Slowly turn on the water supply and check if the faucet switch is smooth and if the top spray showerhead emits water evenly. The rain – style water outlet mode should evenly cover the entire body without local leaks or waterless dead spots.
- Leakage detection: After turning off the water supply, carefully observe if there are water droplets seeping from the interfaces, especially focusing on the connections between the faucet and embedment box, and the shower bracket and wall. If leakage is found, turn off the water supply and re – wrap Teflon tape or apply sealant.
- Thermostatic function test (if available): For models with a thermostatic control system, test the water temperature stability. When adjusting the temperature, there should be no obvious fluctuations to ensure safe use.
VI Common Installation Issues and Solutions
- Issue 1: Encountering steel bars when drilling into the wallSolution: Stop drilling immediately and adjust the position to avoid the steel bars. If necessary, use concrete expansion screws to enhance the fixing force without damaging the wall structure.
- Issue 2: Uneven water output from the top spraySolution: Check if the showerhead outlets are blocked by impurities. Clean them with a soft brush or remove the showerhead and rinse it with water.
- Issue 3: Stuck faucet handle rotationSolution: This may be due to misaligned threads or excessive Teflon tape during installation. Remove and reinstall to ensure the components rotate flexibly.
VII Veiligheidstips en onderhoudssuggesties
- Safe operation: Avoid working near electricity during installation. Keep hands stable when using an electric drill to prevent the bit from slipping and causing injury.
- Daily maintenance: Regularly wipe the faucet surface with a soft cloth and avoid using acidic cleaners to prevent damage to the coating; inspect the interface tightness every six months and replace aging sealing materials in a timely manner.
- Long – term use: The concealed shower set 2 piece produced by Chinese factories has excellent corrosion – resistance and oxidation – resistance. Under normal use, its service life can reach more than 10 years. It is recommended to record maintenance details regularly to extend the product’s lifespan.