The shower head set concealed cone design has become a trendy choice for modern bathroom renovations due to its unique concealed installation and cone – shaped showerhead design. It not only adds beauty to the bathroom but also provides a comfortable shower experience. However, correct installation is the key to maximizing its functionality. The following will provide you with a detailed introduction to the entire process from pre – installation preparation to final usage testing, guiding you to complete the installation with ease while experiencing the charm of high – quality products manufactured by Fábricas de torneiras chinesas.
I. Precautions Before Product Installation
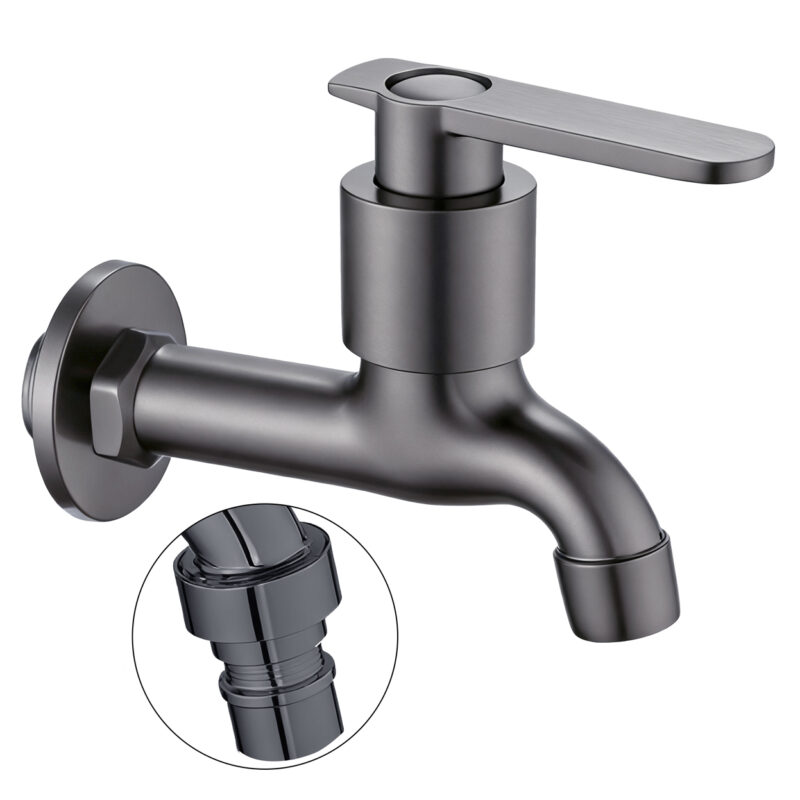
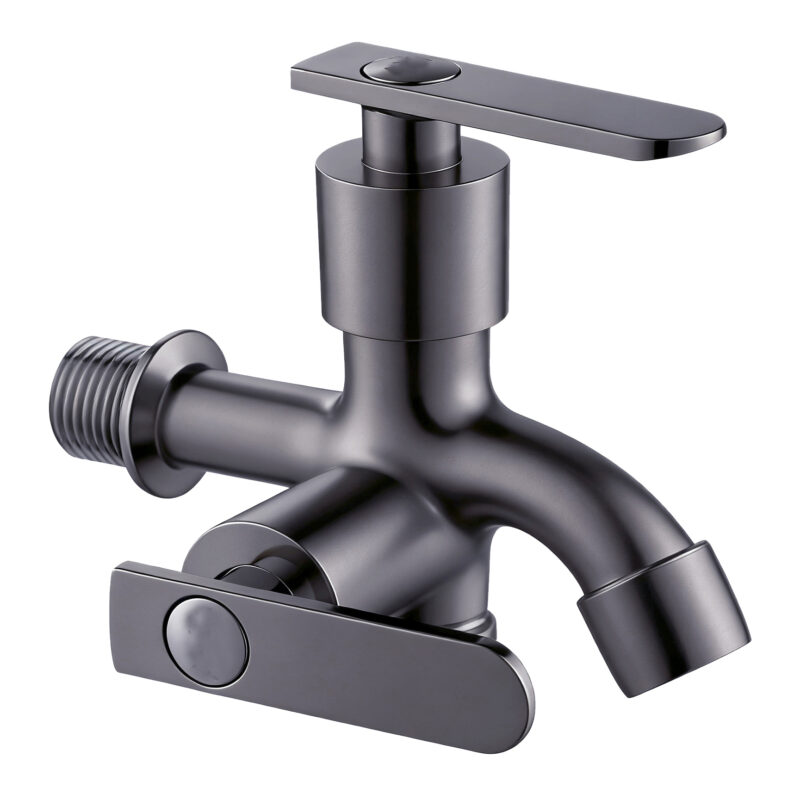
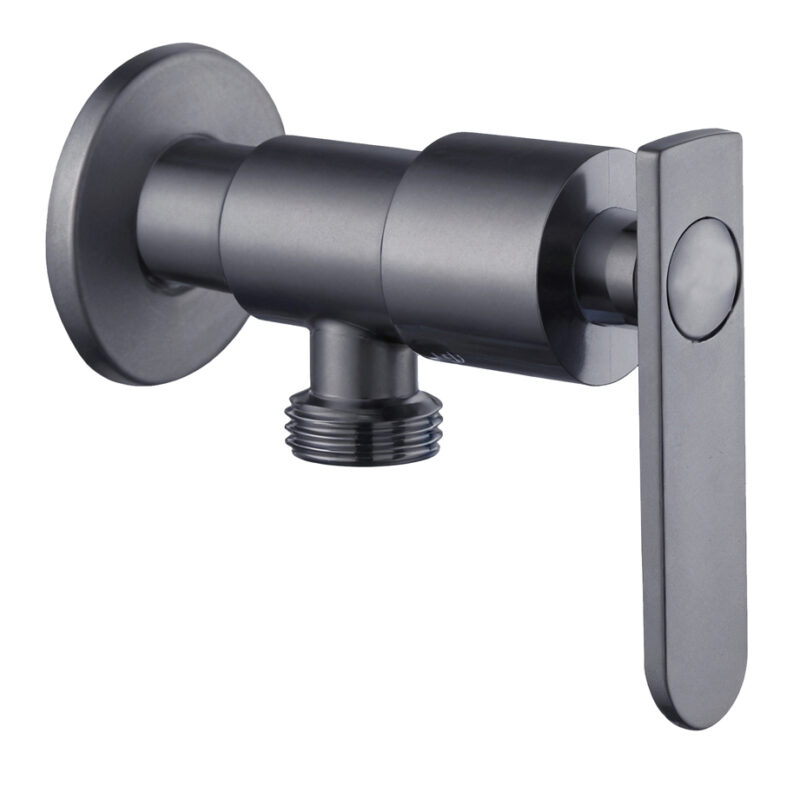
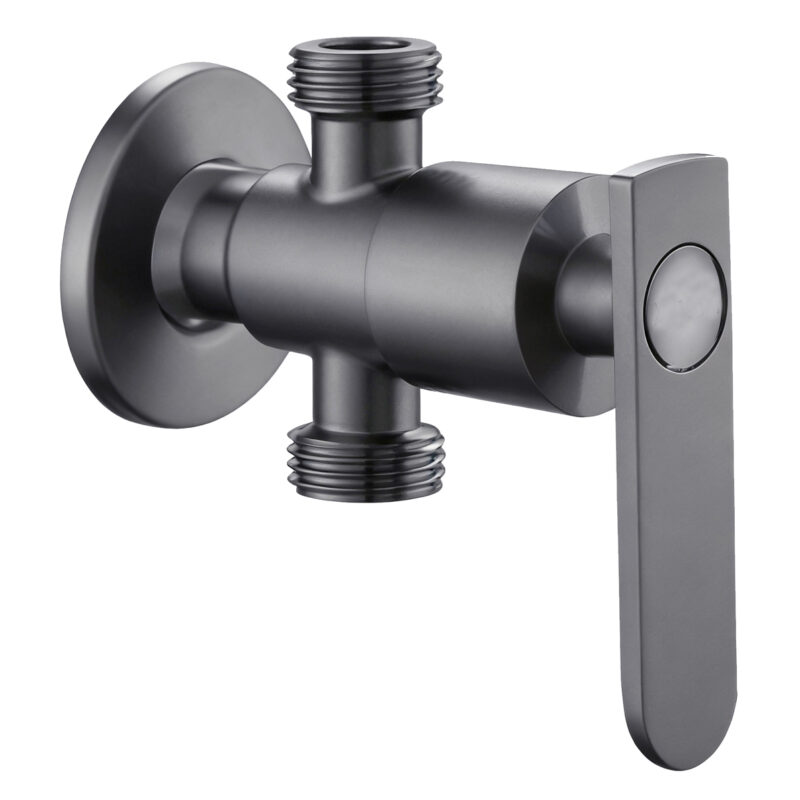
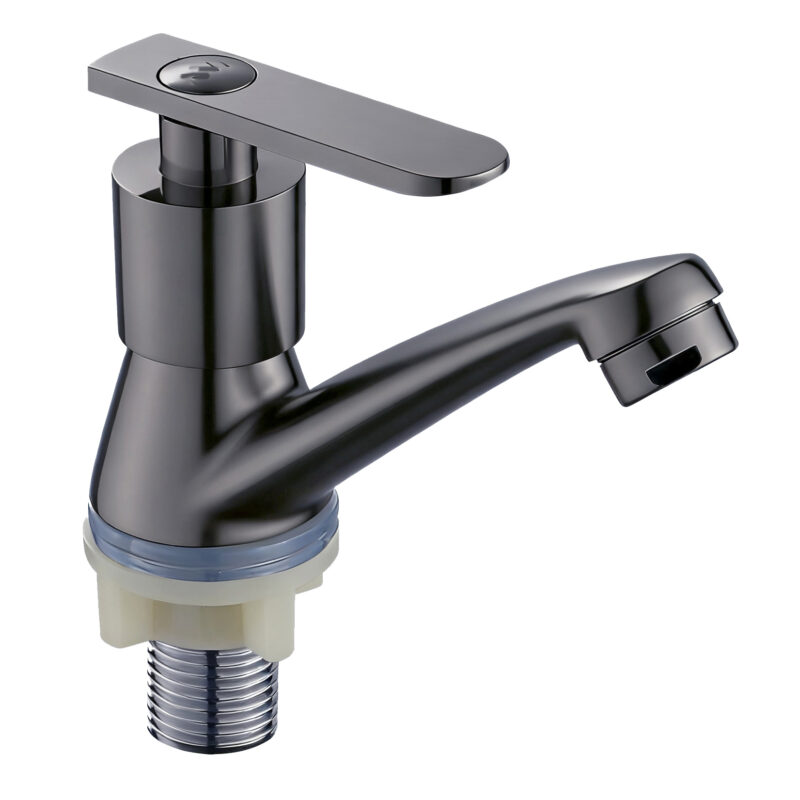
Before starting the installation of the shower head set concealed cone design, there are many things that need to be understood in advance. First, confirm the structure and material of the bathroom wall. If the wall is made of hollow bricks or lightweight materials, additional reinforcement may be required to ensure the stable installation of the shower set; load – bearing walls are relatively more suitable for installation. Second, understand the pressure of the home water supply system. Generally, the concealed cone – shaped shower set has certain requirements for water pressure, and too low water pressure may lead to poor water output. In addition, carefully check whether the product accessories are complete. Products of this type manufactured by Chinese faucet factories usually come with a detailed accessory list to ensure that components such as the concealed thermostatic mixing valve, large – sized overhead shower, and handheld shower are included, avoiding delays in the installation process due to missing accessories.

II. Required Installation Tools
Preparing the right installation tools is the foundation for a smooth installation. Mainly, you will need a power drill, wrenches, screwdrivers, a spirit level, a tape measure, and other tools. The power drill is used to drill holes in the wall for embedding pipes and fixing components; wrenches are used to tighten pipe fittings to ensure a leak – proof connection; screwdrivers are used to install components such as the control panel; the spirit level ensures the horizontal alignment of the shower installation to prevent uneven water flow; the tape measure is used to accurately measure the installation position and dimensions. In addition, Teflon tape or sealant should be prepared for sealing pipe fittings to prevent leakage.
III. Etapas de preparação da pré-instalação
The pre – installation preparation work should be meticulous. The first step is to mark the installation positions on the wall according to the product installation manual, ensuring that the positions of the overhead shower, control panel, and other components meet the design requirements, while leaving enough space. The second step is to close the main water supply valve of the house and empty the remaining water in the pipes to avoid water spraying during the installation process. The third step is to clean the wall, removing dust, oil stains, and other impurities to ensure that the wall is clean and flat, providing a good foundation for subsequent installation.
IV. Processo de instalação normalizado
During the formal installation, start with pipe embedding. Drill holes in the wall according to the marked positions, and lay the concealed pipes inside the wall according to the designed route. Pay attention to the slope of the pipes to ensure smooth drainage. After the pipes are laid, install the concealed thermostatic mixing valve, fix it in the appropriate position inside the wall, and connect the cold and hot water pipes. When connecting, pay attention to distinguish between the cold and hot water interfaces. Usually, red is for hot water and blue is for cold water. Wrap Teflon tape around the joints to ensure a tight seal.
Next, install the cone – shaped overhead shower. Install the fixing bracket of the overhead shower on the wall and use a spirit level to calibrate it to ensure the bracket is horizontal. Then connect the overhead shower to the bracket and tighten it to ensure a firm installation. After that, install the handheld shower and the multi – functional water outlet control device. Connect the hose of the handheld shower to the mixing valve, and then install the control device at a height that is easy to operate. After fixing it, check its flexibility.
V. Usage Testing and Inspection Key Points
After the installation is completed, do not use it immediately; instead, conduct a comprehensive test and inspection. Open the main water supply valve and observe whether there are any leaks at each interface. If there is a leak, close the valve in time and re – seal it. Check the water output of the overhead shower and the handheld shower, and see whether the water flow is uniform and whether different water output modes can be switched normally. Test the intelligent thermostatic function, adjust the water temperature, and observe whether the water temperature can be stabilized at the set temperature to avoid sudden changes in hot and cold.
VI. Common Installation Problems and Solutions
Some problems may occur during the installation process. For example, if there is a leak at the pipe interface, it may be due to insufficient wrapping of Teflon tape or insufficient tightening force. You can re – wrap the Teflon tape and tighten the pipe fittings. If the water output of the overhead shower is uneven, it may be a problem with the installation angle. You can use a spirit level to calibrate again and adjust the installation angle. If the control panel does not operate sensitively, it may be due to loose wiring connections. Check the wiring and reconnect it.
VII. Safety Tips and Maintenance Suggestions
In terms of safety, make sure the power is turned off during the installation process to avoid the risk of electric shock; when using tools such as a power drill, strictly follow the operating procedures to prevent injuries. For daily maintenance, regularly clean the showerhead to prevent water scale from blocking the water outlet holes. You can soak it in white vinegar and then clean it; regularly check whether the pipe fittings are loose, and tighten them if necessary. The high – quality products manufactured by Chinese faucet factories can maintain good performance for a long time as long as proper maintenance is carried out, bringing you a comfortable shower experience.
With the above detailed installation guide, I believe you can successfully complete the installation of the shower head set concealed cone design. As long as you follow the steps strictly and pay attention to the key points of each link, you can fully utilize the advantages of this concealed shower set and add convenience and beauty to your bathroom.