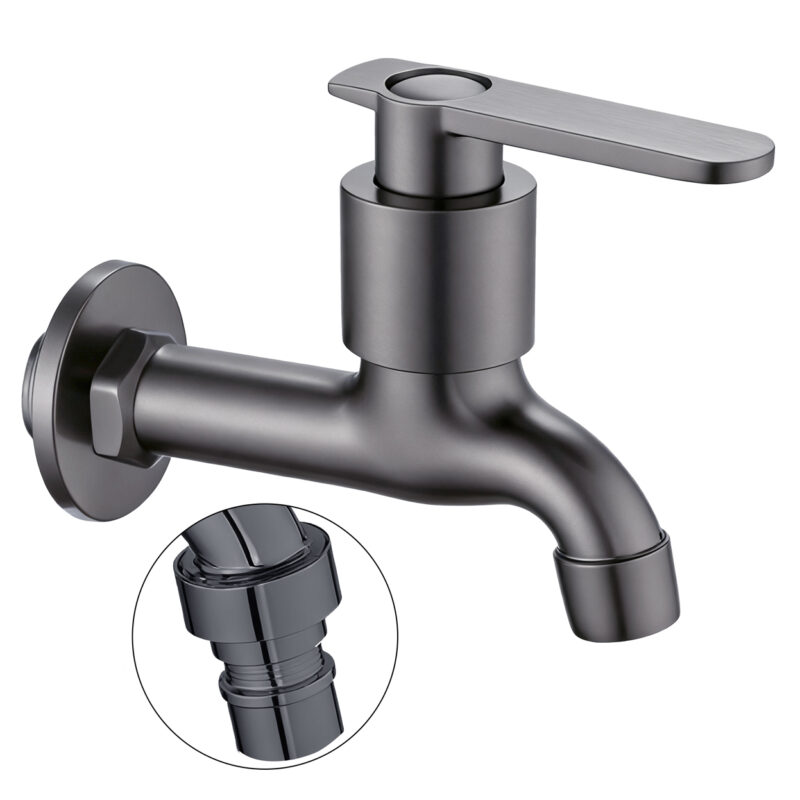
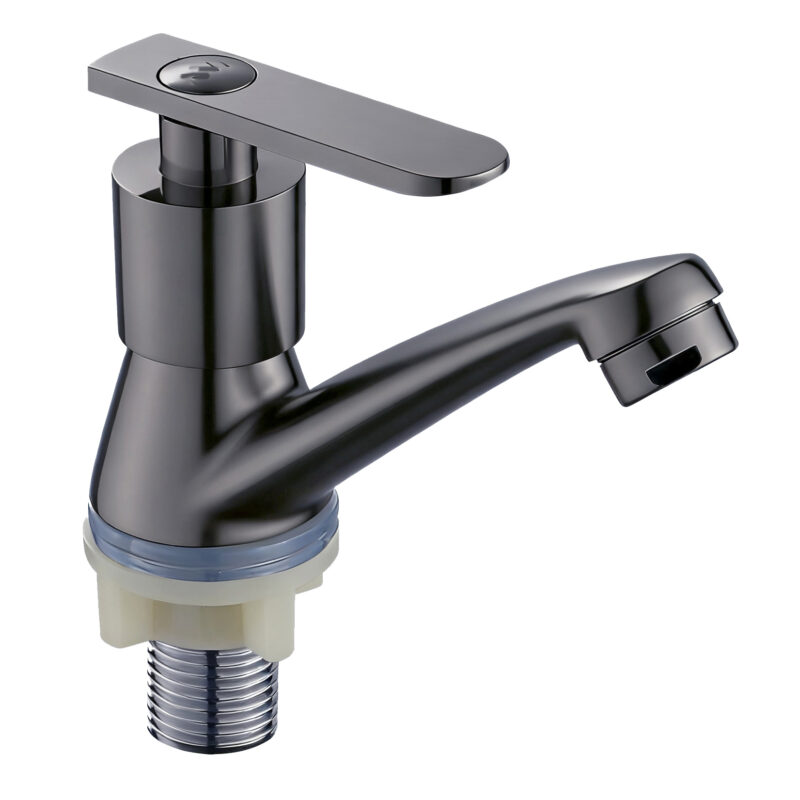
In modern catering and household kitchen scenarios, the copper boil kitchen tap has become the ideal choice for frequent hot water use due to its outstanding performance. These taps are crafted with ingenuity by Chinese faucet factories. Using high – quality copper materials and advanced manufacturing techniques, they possess excellent high – temperature resistance and corrosion resistance, providing users with a safe, efficient, and long – lasting experience. The following is a comprehensive and professional installation guide.
(I) Precautions Before Product Installation
Before starting the installation of the copper boil kitchen tap, several key aspects need to be carefully confirmed. First, inventory the accessories in the product package, including the tap body, installation nuts, sealing gaskets, fixing screws, etc., to ensure that all accessories are complete and undamaged. Meanwhile, strictly measure the size of the installation countertop, especially the diameter of the pre – drilled hole on the countertop, which must be compatible with the tap. Generally, the suitable pre – drilled hole diameter for common copper boil kitchen taps ranges from 35 – 45 mm, with an error range controlled within ±1 mm to ensure a tight and stable installation. In addition, it is necessary to understand the pressure of the home water supply system. The normal household water supply pressure ranges from 0.1 – 0.35 MPa. If the water pressure exceeds this range, it may affect the normal use of the tap. Excessively high water pressure may damage the seals and cause leaks, while too low pressure may result in insufficient water flow. In such cases, a pressure reducing valve or booster pump should be installed in advance for appropriate treatment.
(II) Required Installation Tools
As the saying goes, “Good tools are essential to the successful execution of a job.” Appropriate tools are required for installing the copper boil kitchen tap. Essential tools include an adjustable wrench or socket wrench, which is used to tighten nuts and screws, and its size should match the specifications of the tap accessories; a Phillips or flat – head screwdriver, used for fixing related components; a steel tape measure or electronic distance meter, used for accurately measuring the countertop size and installation position; additionally, a rubber mallet can be prepared to gently tap the components during installation to help them seat better, and PTFE thread seal tape is needed to enhance the tightness of the water pipe connections.
(III) Preparation Steps Before Installation
Before the formal installation, a series of preparatory work needs to be completed methodically. The first step is to definitely turn off the main water valve at home to prevent water leakage during the installation process, which could cause unnecessary losses and troubles. After turning off the water valve, open the tap to empty the remaining water in the pipes. Then, thoroughly clean the installation countertop. Use a cleaning agent to remove oil stains, water stains, and dust on the countertop, ensuring that the countertop is clean, tidy, and free of debris, providing a good foundation for the subsequent installation. Subsequently, carefully read the product manual and initially assemble the various components of the tap according to the instructions in the manual to familiarize yourself with the structure and installation sequence of each component. This will help improve efficiency and reduce the probability of errors during the formal installation.
(IV) Standard Installation Process
The installation of the copper boil kitchen tap should follow standardized procedures. First, vertically insert the tap body into the pre – drilled hole from above the countertop, ensuring that the tap is centered on the countertop with a deviation of no more than 2 mm. Then, put on the sealing gasket and installation nut in sequence below the countertop. The sealing gasket can effectively prevent water from seeping out at the connection, and the installation nut is used to fix the tap. Use a wrench to tighten the nut evenly in a diagonal pattern to avoid the tap tilting or poor sealing due to uneven force. The tightening force should be sufficient to firmly fix the tap without damaging the countertop, generally with a torque of 15 – 20 N·m. Next, connect the water inlet pipes. When connecting, strictly distinguish between the cold and hot water pipe interfaces. Usually, the left side is the hot water interface, and the right side is the cold water interface, which can be identified by the color markings or text labels at the interfaces. After the connection is completed, slowly open the main water valve and observe whether there is any water leakage at the connection. If there is a leak, immediately close the water valve, re – tighten the nut, or check whether the gasket is installed in place. If necessary, re – wrap the PTFE thread seal tape and then reconnect.
(V) Usage Test and Inspection Key Points
After the installation is completed, a comprehensive usage test and inspection of the copper boil kitchen tap are required. Open the tap and observe whether the water flow is smooth. Under normal circumstances, the water flow should be columnar without obvious bifurcation or splashing. At the same time, detect whether the water pressure is normal. This can be compared with the water outlet situation of other taps at home. If the water flow is significantly smaller, there may be a water pressure problem or a blocked water pipe. Open and close the tap repeatedly to check whether its switch is flexible and whether there is any jamming or 阻滞现象. If there are such problems, check whether the valve core is installed correctly or whether there are impurities entering. In addition, check whether the water outlet angle of the tap meets the usage requirements. According to the actual usage scenario, adjust the water outlet angle to an appropriate position by adjusting the rotation angle of the tap or the fixing components. Generally, it is recommended that the water outlet angle can be flexibly adjusted within the range of 0 – 90 degrees.
(VI) Common Installation Problems and Solutions
During the installation process, some common problems may occur. If there is water leakage after installation, it may be due to an untightened nut, a damaged gasket, or improper wrapping of the PTFE thread seal tape. In this case, re – tighten the nut. If the nut is already tightened but there is still a leak, check whether the gasket is damaged or worn out, and replace it with a new one if necessary. If the gasket is normal, remove the water pipe and re – wrap the PTFE thread seal tape. Wrap it clockwise from the interface, and the wrapping thickness should ensure sealing without affecting the connection, generally 5 – 8 turns. If the tap switch is not flexible, it may be due to misalignment of internal components, lack of lubrication, or the entry of impurities. First, close the water valve, disassemble the tap switch components, check whether the internal structure is installed correctly, clean the internal impurities, then apply an appropriate amount of food – grade lubricating grease to the rotating parts, and retest after reinstallation.
(VII) Safety Tips and Maintenance Suggestions
 Safety is of utmost importance during the installation and use of the copper boil kitchen tap. Since the tap supplies hot water, be extremely careful during operation to avoid scalding, especially when using it for the first time or after a long period of non – use. First, slowly open the cold water and then gradually adjust the hot water to prevent the water temperature from being too high. In daily use, regularly clean and maintain the tap. It is recommended to wipe the surface of the tap with a soft wet cloth once a week to remove water stains and dirt. Avoid using steel wool or hard cleaning tools to prevent scratching the surface coating of the tap. For stubborn stains, a neutral cleaning agent can be used, and then rinse thoroughly with clean water and dry it. If the tap is not used for a long time, it is recommended to turn off the main water valve and empty the water in the pipes. This can effectively prevent the pipes from freezing and cracking and the growth of bacteria, thus extending the service life of the tap.
Through the above detailed and professional installation guide, I believe you can successfully complete the installation of the copper boil kitchen tap, fully utilize its performance advantages, and enjoy the convenient hot water usage experience. If you encounter any problems during the installation or use process, you can contact the professional after – sales service team of Chinese faucet factories at any time. We will provide you with timely and effective solutions.