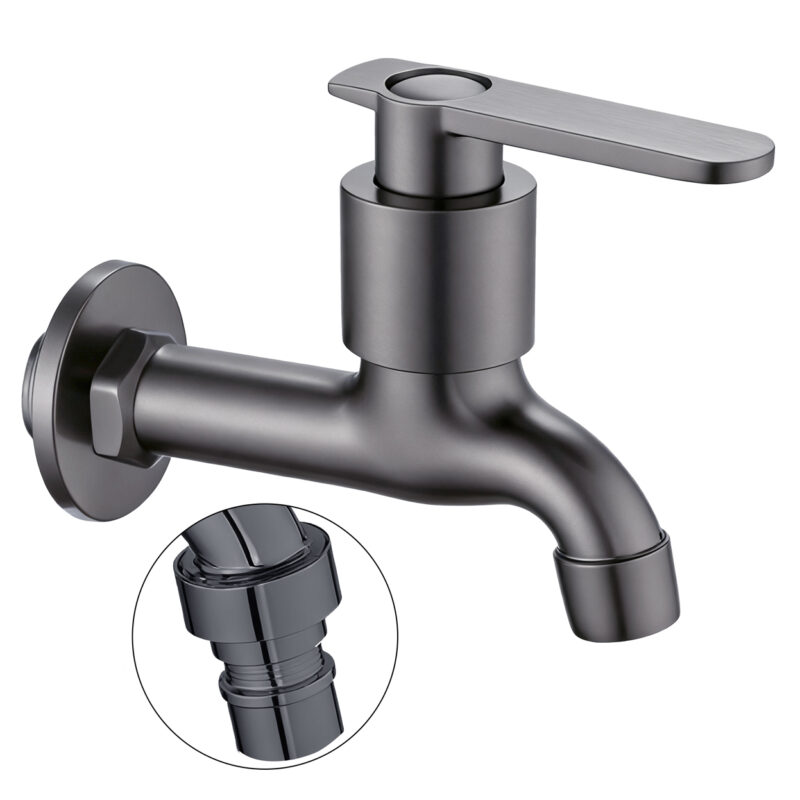
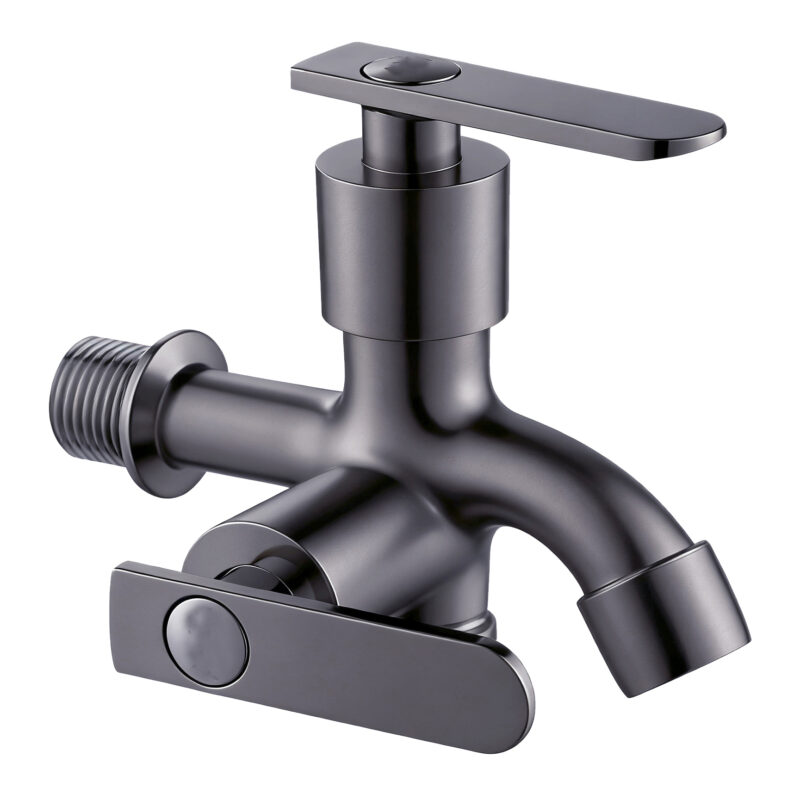
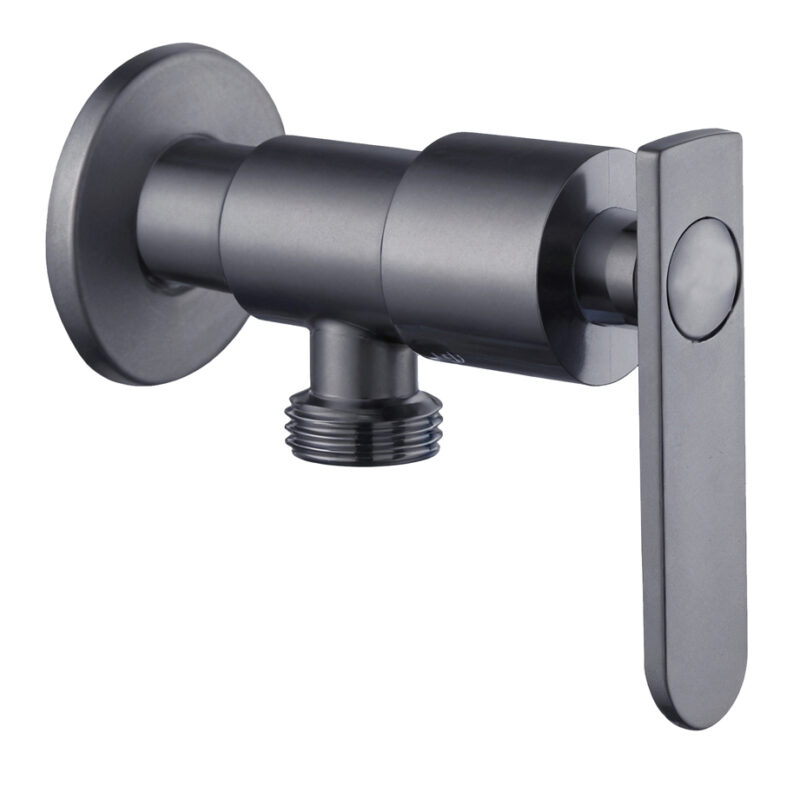
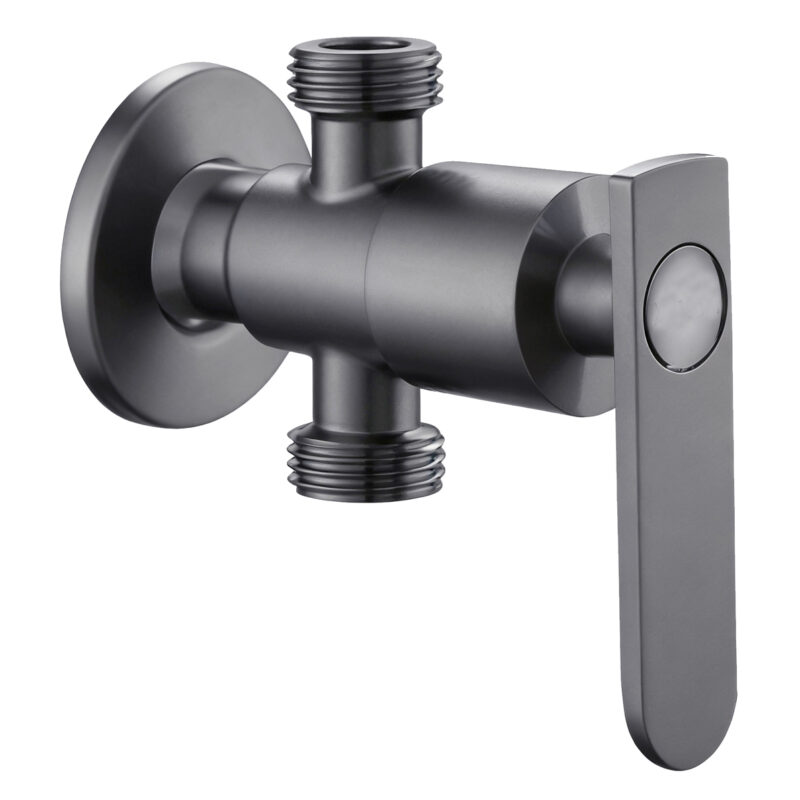
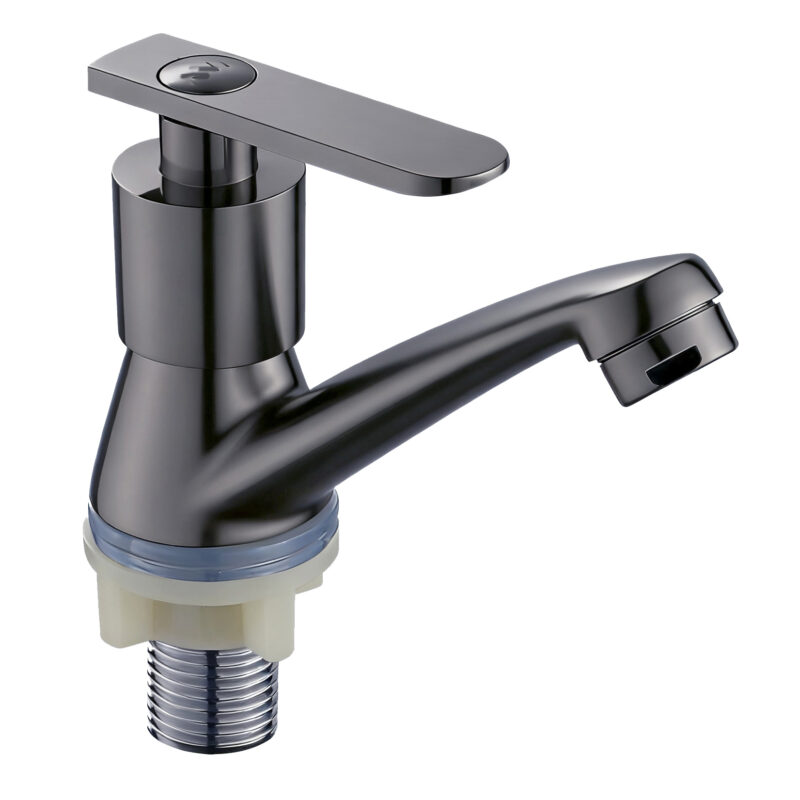
Kitchen tap gun metal, with its distinctive dark gray or black metallic finish, has become a popular choice for modern and industrial kitchen renovations. These single-cold sink faucets, meticulously crafted by Chinese faucet manufacturers, not only offer exceptional corrosion resistance but also feature a smooth surface formed by a dense coating, making daily cleaning and maintenance effortless. They are well-suited for the high-frequency usage typical of kitchen environments. The following is a detailed installation guide to help you complete the installation smoothly and optimize the product’s performance.
(I) Precautions Before Product Installation
Before starting the installation, conduct a comprehensive inspection of the kitchen tap gun metal and its accompanying components. Visually and physically check to ensure that the faucet’s surface coating is free of peeling and that the accessories are undamaged. It is essential to turn off the main water supply valve to prevent unexpected water spraying during installation. Additionally, carefully measure the size of the kitchen sink’s installation hole (the standard diameter is usually 35-40mm) and confirm that there is sufficient space underneath the sink for installation operations.
(II) Required Installation Tools
Preparing the right installation tools is the foundation for a smooth installation. The essential tools include:
- Adjustable Wrench: Used for tightening water pipe nuts and faucet fixing components. It is recommended to choose a high-quality wrench with an opening range of 6-24mm.
- Phillips Screwdriver: Required for installing the fixing base of some faucet models.
- Teflon Tape: Select polytetrafluoroethylene Teflon tape with a thickness of 0.1-0.15mm to ensure a tight seal at the joints.
- Tape Measure: Used for precise measurement of installation dimensions.
- Towel: Used to wipe off water stains during the installation process in a timely manner.
(III) Preparation Steps Before Installation
First, thoroughly clean the sink installation area. Use a cleaning agent to remove oil stains and debris, ensuring a flat and clean installation surface. Second, carefully read the product manual to familiarize yourself with the names and installation sequence of each component. Clear out the space under the sink to ensure sufficient room for operation. Finally, neatly arrange the required installation tools and accessories for easy access during installation.
(IV) Standard Installation Process
- Installation of the Faucet Body: Insert the main body of the kitchen tap gun metal vertically through the installation hole from above the sink. Below the sink, install the rubber gasket and metal fixing nut in sequence. Use an adjustable wrench to tighten the nut gradually in a diagonal pattern to ensure the faucet is stable and does not wobble. Avoid over-tightening to prevent damage to the sink surface.
- Water Pipe Connection: Wrap 10-15 turns of Teflon tape clockwise around the external threads of the faucet’s water inlet. Align the cold water pipe connector with the water inlet and tighten it with an adjustable wrench using a torque of 30-40N·m to ensure a secure and leak-proof connection.
- Fixing and Debugging: Recheck all connection points. After confirming there are no loose parts, slowly open the main water supply valve and observe for any leaks at each joint. Operate the faucet switch to test its smoothness and the uniformity of the water flow.
(V) Key Points of Use Testing and Inspection
After completing the installation, a comprehensive test is required:
- Seal Check: Turn on the faucet to its maximum water output and observe whether there are any water droplets seeping from the connection points. Pay special attention to critical areas such as water pipe joints and the faucet fixing base.
- Water Flow Test: Observe the shape of the water flow to ensure it is normal without any splitting or interruption. Test the water flow at different opening levels to ensure the switch adjustment function works properly.
- Stability Check: Gently shake the faucet to check if it is firmly fixed and free of looseness or abnormal noise.
(VI) Common Installation Problems and Solutions
| Problem Phenomenon | Possible Cause | Solution |
| Water leakage at the joint | Insufficient or uneven winding of Teflon tape | Turn off the water source, remove the joint, and rewind the Teflon tape, ensuring a tight and even wrap. |
| Faucet wobbling | The fixing nut is not tightened properly or the gasket is installed incorrectly | Retighten the fixing nut, check the position of the gasket, and replace it if necessary. |
| Weak water flow | Blockage in the water pipe or a faulty valve core | Check for impurities inside the water pipe. If the problem lies with the valve core, contact the manufacturer for replacement. |
(VII) Safety Tips and Maintenance Suggestions
- Safety Tips: Always turn off the water source during installation to avoid accidents caused by water splashing. When using the wrench, apply appropriate force to prevent the tool from slipping and causing injury.
- Maintenance Suggestions: Regularly clean the faucet surface with a neutral cleaner and a soft cloth. Avoid using abrasive cleaning tools such as steel wool to prevent damage to the coating. Inspect the water pipe connections every six months and replace any aging seals in a timely manner.