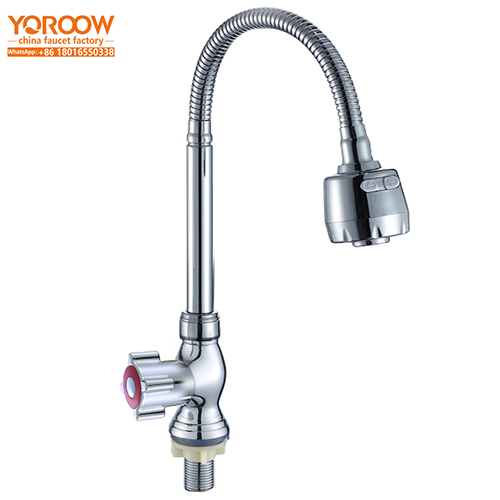
In response to the high-efficiency cleaning requirements of modern kitchens, the kitchen tap extension faucet stands out with its innovative design. As a major global production base for bathroom products, Chinese faucet factories produce over 50 million units annually. Leveraging precision CNC machining technology and ISO 9001 quality management systems, these factories create extension faucets renowned for their flexibility and durability, making them ideal for both household and commercial kitchen applications. The following provides a professional guide to the installation process and key considerations.
(I) Precautions Before Installation
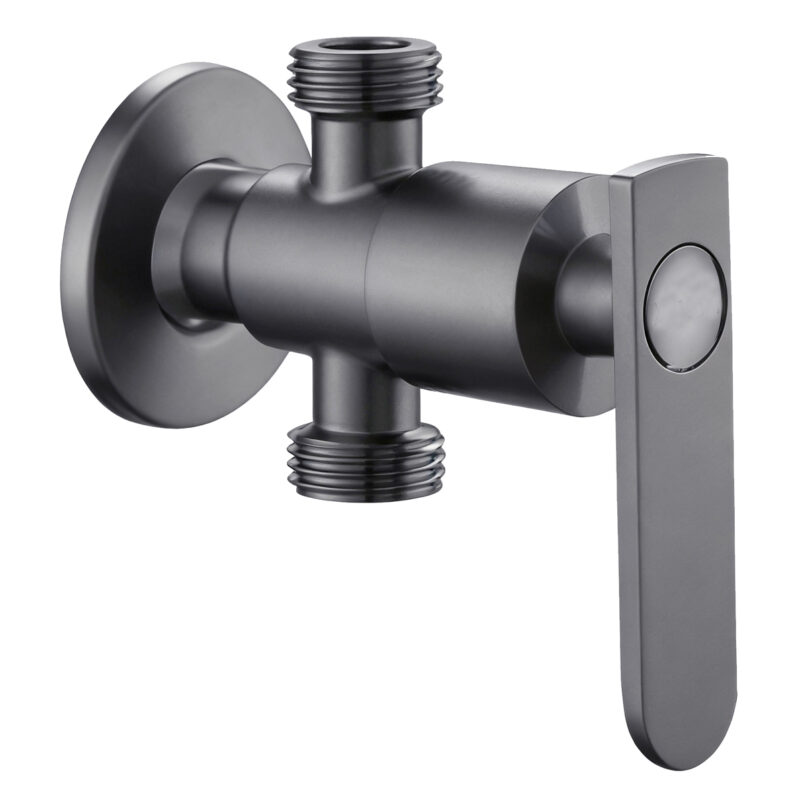
Before installation, a comprehensive assessment of the product and installation environment is essential. First, verify the product packaging contents to ensure all 12 standard components are included, such as the faucet body, anti-loosening nuts, silicone gaskets, and braided water inlet hoses. Second, confirm that the sink hole size is compatible with the faucet; standard single-cold basin faucets fit holes with a diameter of 35-40mm. Notably, remember to shut off the main building water supply valve and relieve residual water pressure in the pipes to prevent unexpected water splashes during installation.
(II) Required Installation Tools
Professional tools are crucial for ensuring installation quality. We recommend preparing the following equipment:
- 150mm Adjustable Wrench: For tightening nuts
- Phillips Screwdriver: For detaching sink accessories
- Pipe Thread Seal Tape: To enhance joint tightness
- Water Collection Bucket: To catch residual water
- Rubber Gloves: For safety protection
(III) Pre-installation Preparation Steps
Complete the following preparations before the formal installation:
- Environmental Cleaning: Thoroughly clean the sink surface and installation holes. Use sandpaper to smooth any uneven areas.
- Component Pre-treatment: Apply anti-loosening adhesive to nut threads and food-grade lubricant to gaskets.
- Water System Inspection: Check that the cold water pipeline pressure falls within the standard operating range of 0.1-0.6MPa.
(IV) Standard Installation Process
- Main Body Fixing: Insert the faucet body through the sink hole, then screw on the anti-loosening nut from below. Use a torque wrench to tighten it to a standard torque of 20-25N·m.
- Waterway Connection: Connect one end of the braided hose to the faucet’s water inlet and the other end to the cold water pipe using tapered pipe threads. Wrap 3-5 layers of seal tape around the threads.
- Stability Testing: After connection, gently shake the faucet to check for stability, ensuring no radial displacement occurs.
(V) Usage Testing and Inspection Key Points
After installation, conduct functional tests:
- Water Flow Test: Slowly open the main water valve and observe all connection points for leaks, focusing on nut interfaces and hose connections.
- Function Adjustment: Switch the sprayer modes to confirm smooth transitions between jet stream and spray patterns.
- Pressure Testing: Run the faucet continuously for 5 minutes under 0.6MPa water pressure to test its sealing performance.
(VI) Common Installation Issues and Solutions
| Problem | Possible Cause | Solution |
| Water leakage at joints | Misaligned gasket | Reinstall the gasket and apply sealant |
| Poor water flow | Clogged filter screen | Remove and clean the 304 stainless steel filter screen |
| Faucet wobbling | Loose nut | Retighten the nut using a torque wrench to the standard torque |
(VII) Safety Tips and Maintenance Recommendations
- Safety Precautions: Avoid contact with electrical equipment during installation, and refrain from using sharp tools that could damage water pipes.
- Routine Maintenance: Wipe the faucet surface monthly with a neutral cleaner and inspect hoses quarterly for signs of aging.
- Extreme Weather Protection: Wrap water pipes with thermal insulation material in sub-zero (0℃) environments to prevent freezing and cracking.
By following these professional installation guidelines, you can fully utilize the superior performance of Chinese-made kitchen tap extension faucets, bringing greater efficiency and convenience to your kitchen cleaning tasks.