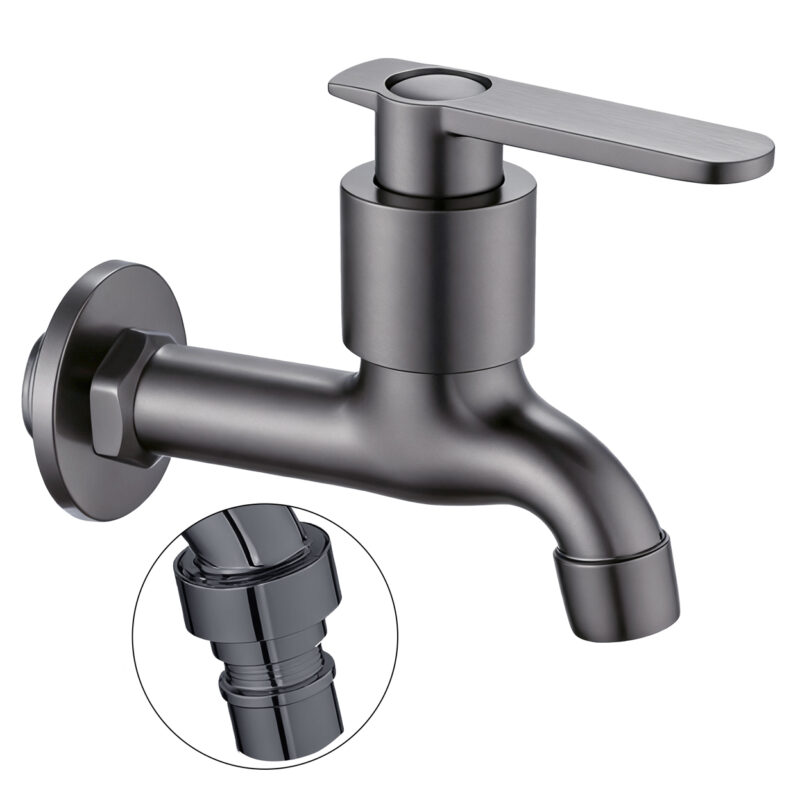
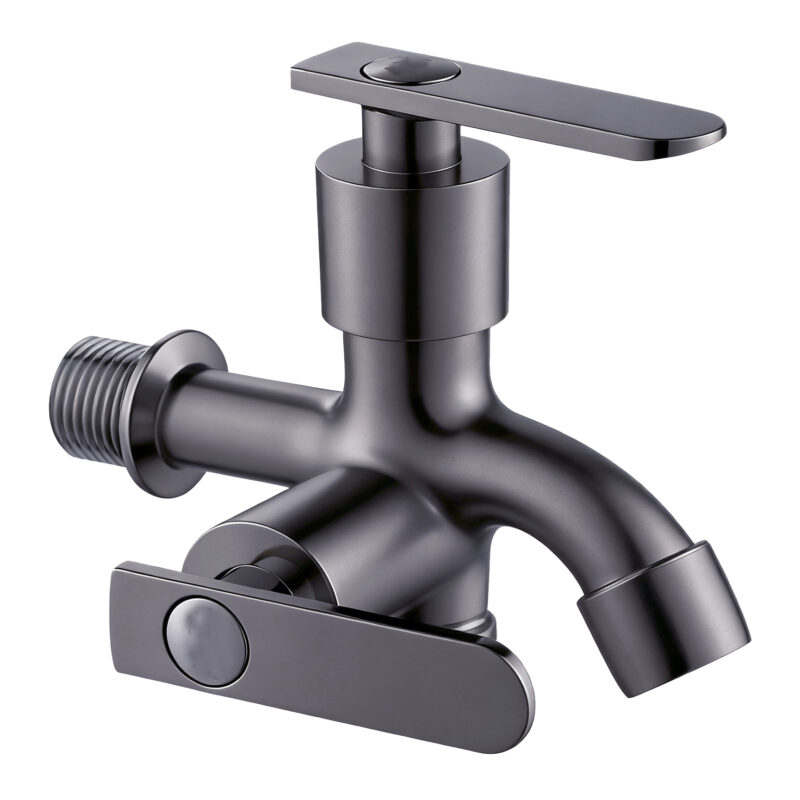
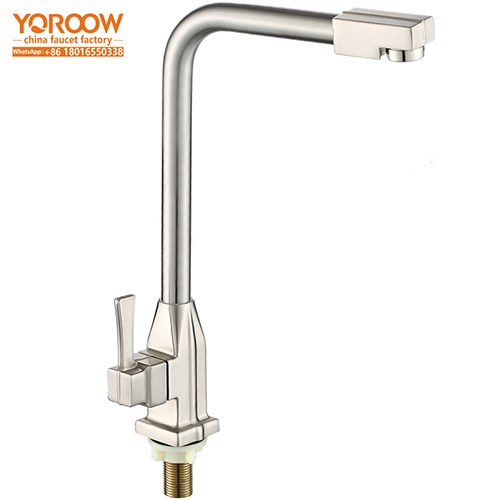
Among modern kitchen appliances, kitchen tap water mark single-cold sink faucets have gained widespread popularity due to their unique water mark identification design, which provides users with an intuitive understanding of water flow. These products, meticulously crafted by Chinese faucet factories using high-quality materials, not only offer exceptional durability but also ensure long-term stable functionality. They are perfectly suited for both daily use in home kitchens and high-frequency operation scenarios in commercial kitchens. The following is a detailed installation guide for kitchen tap water mark single-cold sink faucets.
(I) Precautions Before Product Installation
Before installing a kitchen tap water mark single-cold sink faucet, the first and foremost step is to carefully read the product manual. The manual contains crucial information such as product features, specifications, and special precautions. Only by fully understanding this information can a solid foundation be laid for the subsequent installation process. Meanwhile, it is essential to thoroughly inspect all components included in the product packaging to confirm their integrity and check for any damage caused by transportation or other factors. In case of missing or damaged components, immediately contact the merchant or the Chinese faucet factory for replacement. Additionally, accurately measure the size of the installation hole on the kitchen countertop before installation to ensure it matches the faucet’s specifications, thereby avoiding installation difficulties due to size discrepancies.
(II) Required Installation Tools
To successfully install a kitchen tap water mark single-cold sink faucet, it is necessary to prepare the required tools in advance. Common tools include wrenches, which are used to tighten nuts and pipe fittings to ensure a secure connection; screwdrivers, which can assist in installing and securing small components; and Teflon tape, which provides a seal at pipe connections to prevent water leakage. Having these tools ready can make the installation process more efficient and smooth.
(III) Preparation Steps Before Installation
Before the formal installation, it is imperative to turn off the main water valve in the kitchen. This is a critical step to ensure installation safety and prevent water leakage. After turning off the water valve, clean up any debris, dust, and residual sealant around the installation hole on the countertop to keep the installation area clean and tidy, creating favorable conditions for faucet installation. If there is an old faucet on the countertop, remove it carefully, taking care not to damage the countertop or other components during the disassembly process.
(IV) Standard Installation Process
Pass the inlet pipe of the kitchen tap water mark single-cold sink faucet through the installation hole on the countertop. From below the countertop, put on the gasket and nut in sequence, and then use a wrench to tighten the nut moderately to fix the position of the faucet. Note that the tightening force of the nut should be appropriate; too loose may cause the faucet to become loose, while too tight may damage the countertop or faucet components. Subsequently, evenly wrap an appropriate amount of Teflon tape, generally 5 – 8 turns, around the connection between the inlet pipe and the cold water pipe. Then, connect the inlet pipe to the cold water pipe in the kitchen and use a wrench to tighten it again to ensure a tight and secure connection without any signs of looseness.
(V) Key Points for Usage Testing and Inspection
After the installation is completed, turn on the main water valve and carefully observe all connection points of the faucet, including the inlet pipe interface and nut areas, to check for any water leakage. At the same time, turn on the faucet, observe whether the water mark identification of the kitchen tap water mark is clear and accurate, and check whether the water flow meets the normal standard. Additionally, repeatedly test the on-off operation of the faucet to feel whether it is smooth and check for any jams or abnormal resistance.
(VI) Common Installation Problems and Solutions
If water leakage is found at the connection points after installation, it may be due to uneven winding of the Teflon tape or insufficient tightening of the nut. In this case, turn off the water valve, rewind the Teflon tape, and tighten the nut moderately. If the faucet’s on-off operation is not smooth, it may be caused by misalignment of internal components or blockage by foreign objects. In such situations, carefully disassemble the faucet, inspect its internal structure, clean out the foreign objects, and adjust the positions of the components.
(VII) Safety Tips and Maintenance Suggestions
During the installation and use of kitchen tap water mark single-cold sink faucets, pay attention to safety. Avoid cutting your hands when using tools, and prevent slipping caused by water flow impact when turning on the water valve. In daily use, regularly clean and maintain the faucet. You can use a soft cloth with a neutral cleaner to wipe the surface of the faucet, removing water stains and dirt to keep its appearance clean and shiny. Meanwhile, check the sealing of all connection points of the faucet at regular intervals, and replace aging sealing components in a timely manner to extend the faucet’s service life and ensure it always maintains good performance.