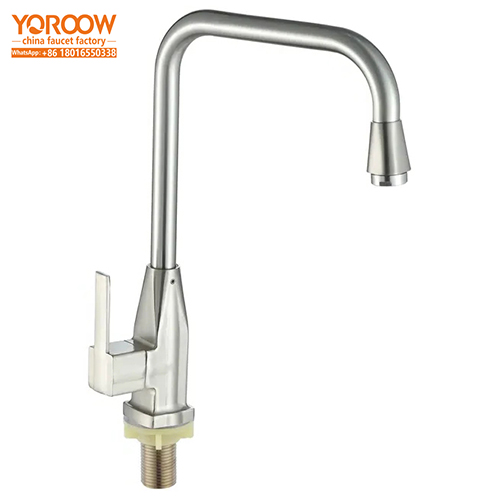
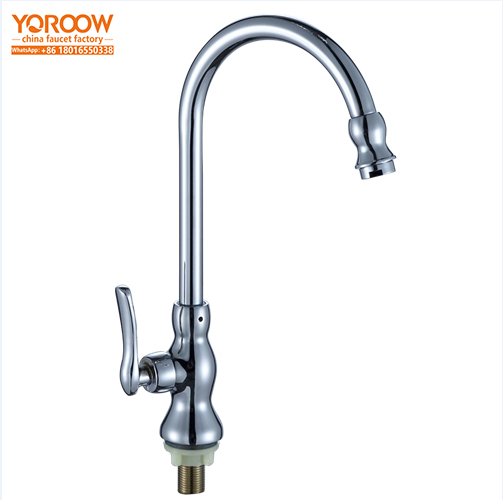
The extendable kitchen tap chrome, crafted by Chinese kranenfabrieken, features a chrome-plated surface that not only gives it a sleek, shiny look but also enhances its corrosion resistance. Its flexible extendable design easily meets various kitchen water needs, especially suitable for scenarios requiring frequent adjustment of water flow coverage. Below are detailed installation steps and related precautions.
(I) Pre-Installation Notes
Before installation, ensure the packaging of the extendable kitchen tap chrome is intact. Check that all components such as the tap body, extendable hose, and fixings are complete and undamaged. Meanwhile, verify that the opening on the countertop or sink matches the size of the tap base to avoid installation obstacles due to mismatched dimensions. Additionally, make sure to turn off the main water supply in the kitchen to prevent water leakage during installation.
(II) Vereist installatiegereedschap
To install the extendable kitchen tap chrome, you will need an adjustable wrench or open-end wrench, a screwdriver of the appropriate size, Teflon tape, and a tape measure. These tools assist in completing key operations such as tap fixing and pipe connection, ensuring a smooth installation process.
(III) Pre-Installation Preparation Steps
First, use a tape measure to check the diameter of the opening in the sink or countertop, ensuring it matches the size of the extendable kitchen tap chrome base. Clean up any debris in the installation area to keep the environment tidy. Check the type of the water inlet pipe interface; if it does not match the tap connector, prepare an adapter in advance. Finally, wrap an appropriate amount of Teflon tape around the threaded interface of the tap to enhance sealing performance and prevent water leakage.
(IV) Standaard installatieproces
Step 1: Pass the base of the extendable kitchen tap chrome through the opening in the sink or countertop, and fix it with a nut from below to ensure the tap is stable and does not shake. Step 2: Align the tap’s water inlet with the kitchen’s water inlet pipe interface, and gently tighten the connector with a wrench. Be careful to apply moderate force to avoid damaging the threads. Step 3: Connect the extendable hose to the tap body according to the product instructions, ensuring a tight and secure connection.
(V) Usage Testing and Inspection Points
After installation, turn on the main water supply and carefully check for any signs of water leakage at each connection point. Pull the extendable hose to test its flexibility and smoothness of retraction. At the same time, turn on the tap to observe if the water flow is normal, with no blockages or uneven water flow. If any problems are found, turn off the water supply immediately and conduct timely inspections and adjustments.
(VI) Vaak voorkomende installatieproblemen en oplossingen
If water leakage occurs, it may be because the connector is not tightened or there is insufficient Teflon tape. Turn off the water supply, then re-tighten the connector or increase the amount of Teflon tape. If the extendable hose does not operate smoothly, it may be due to debris inside or an incorrect installation angle. Clean the debris and adjust the installation angle to restore smooth operation.
(VII) Veiligheidstips en onderhoudssuggesties
When using tools during installation, pay attention to the force applied to avoid scratching the chrome-plated surface of the tap. After installation, regularly check if each connection part is loose and deal with potential issues promptly. During daily use, avoid pulling the extendable hose with excessive force. When cleaning, use a soft cloth and do not use corrosive cleaners to prevent damage to the corrosion-resistant layer, which could affect the service life of the product.
The extendable kitchen tap chrome produced by Chinese faucet factories excels in durability and ease of cleaning. Following the above installation and maintenance steps ensures long-term stable operation of the product, providing a convenient and efficient water usage experience for home kitchens.